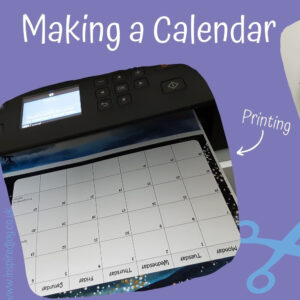
The first step is printing the calendar. Well, actually, I guess the first step is choosing some paper! I always go for a thick paper that has a matte finish so that it can be written on with various types of pen/pencil. This year I'm printing my calendar in 3 different size, but keep paper supplies simple, I've arranged the digital files so that they all fit on the same size piece of paper. It does mean I have some cutting to do, but I find that easier than predicting how much paper in each size that I will need!
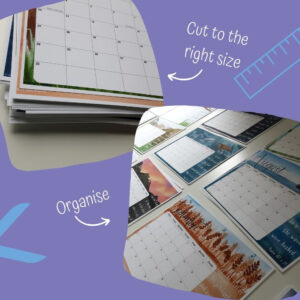
Once printed the next step is to cut them to the correct size. I print on A3 paper, so my family planner style calendars can skip this step. My A4 and slimline ones need cutting in half. After this they need putting into order. Mine usually end up being in a bit of a muddle after being printed and cut! I do this in two steps: 1) lay out creating a pile for each month - which also makes me tidy my desk up first! and 2) gather up 1 of each to make the full calendar in order. Now they are ready for assembling.
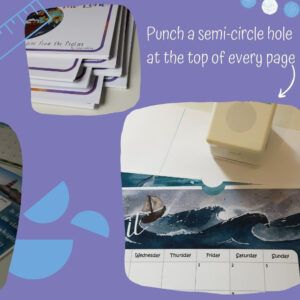
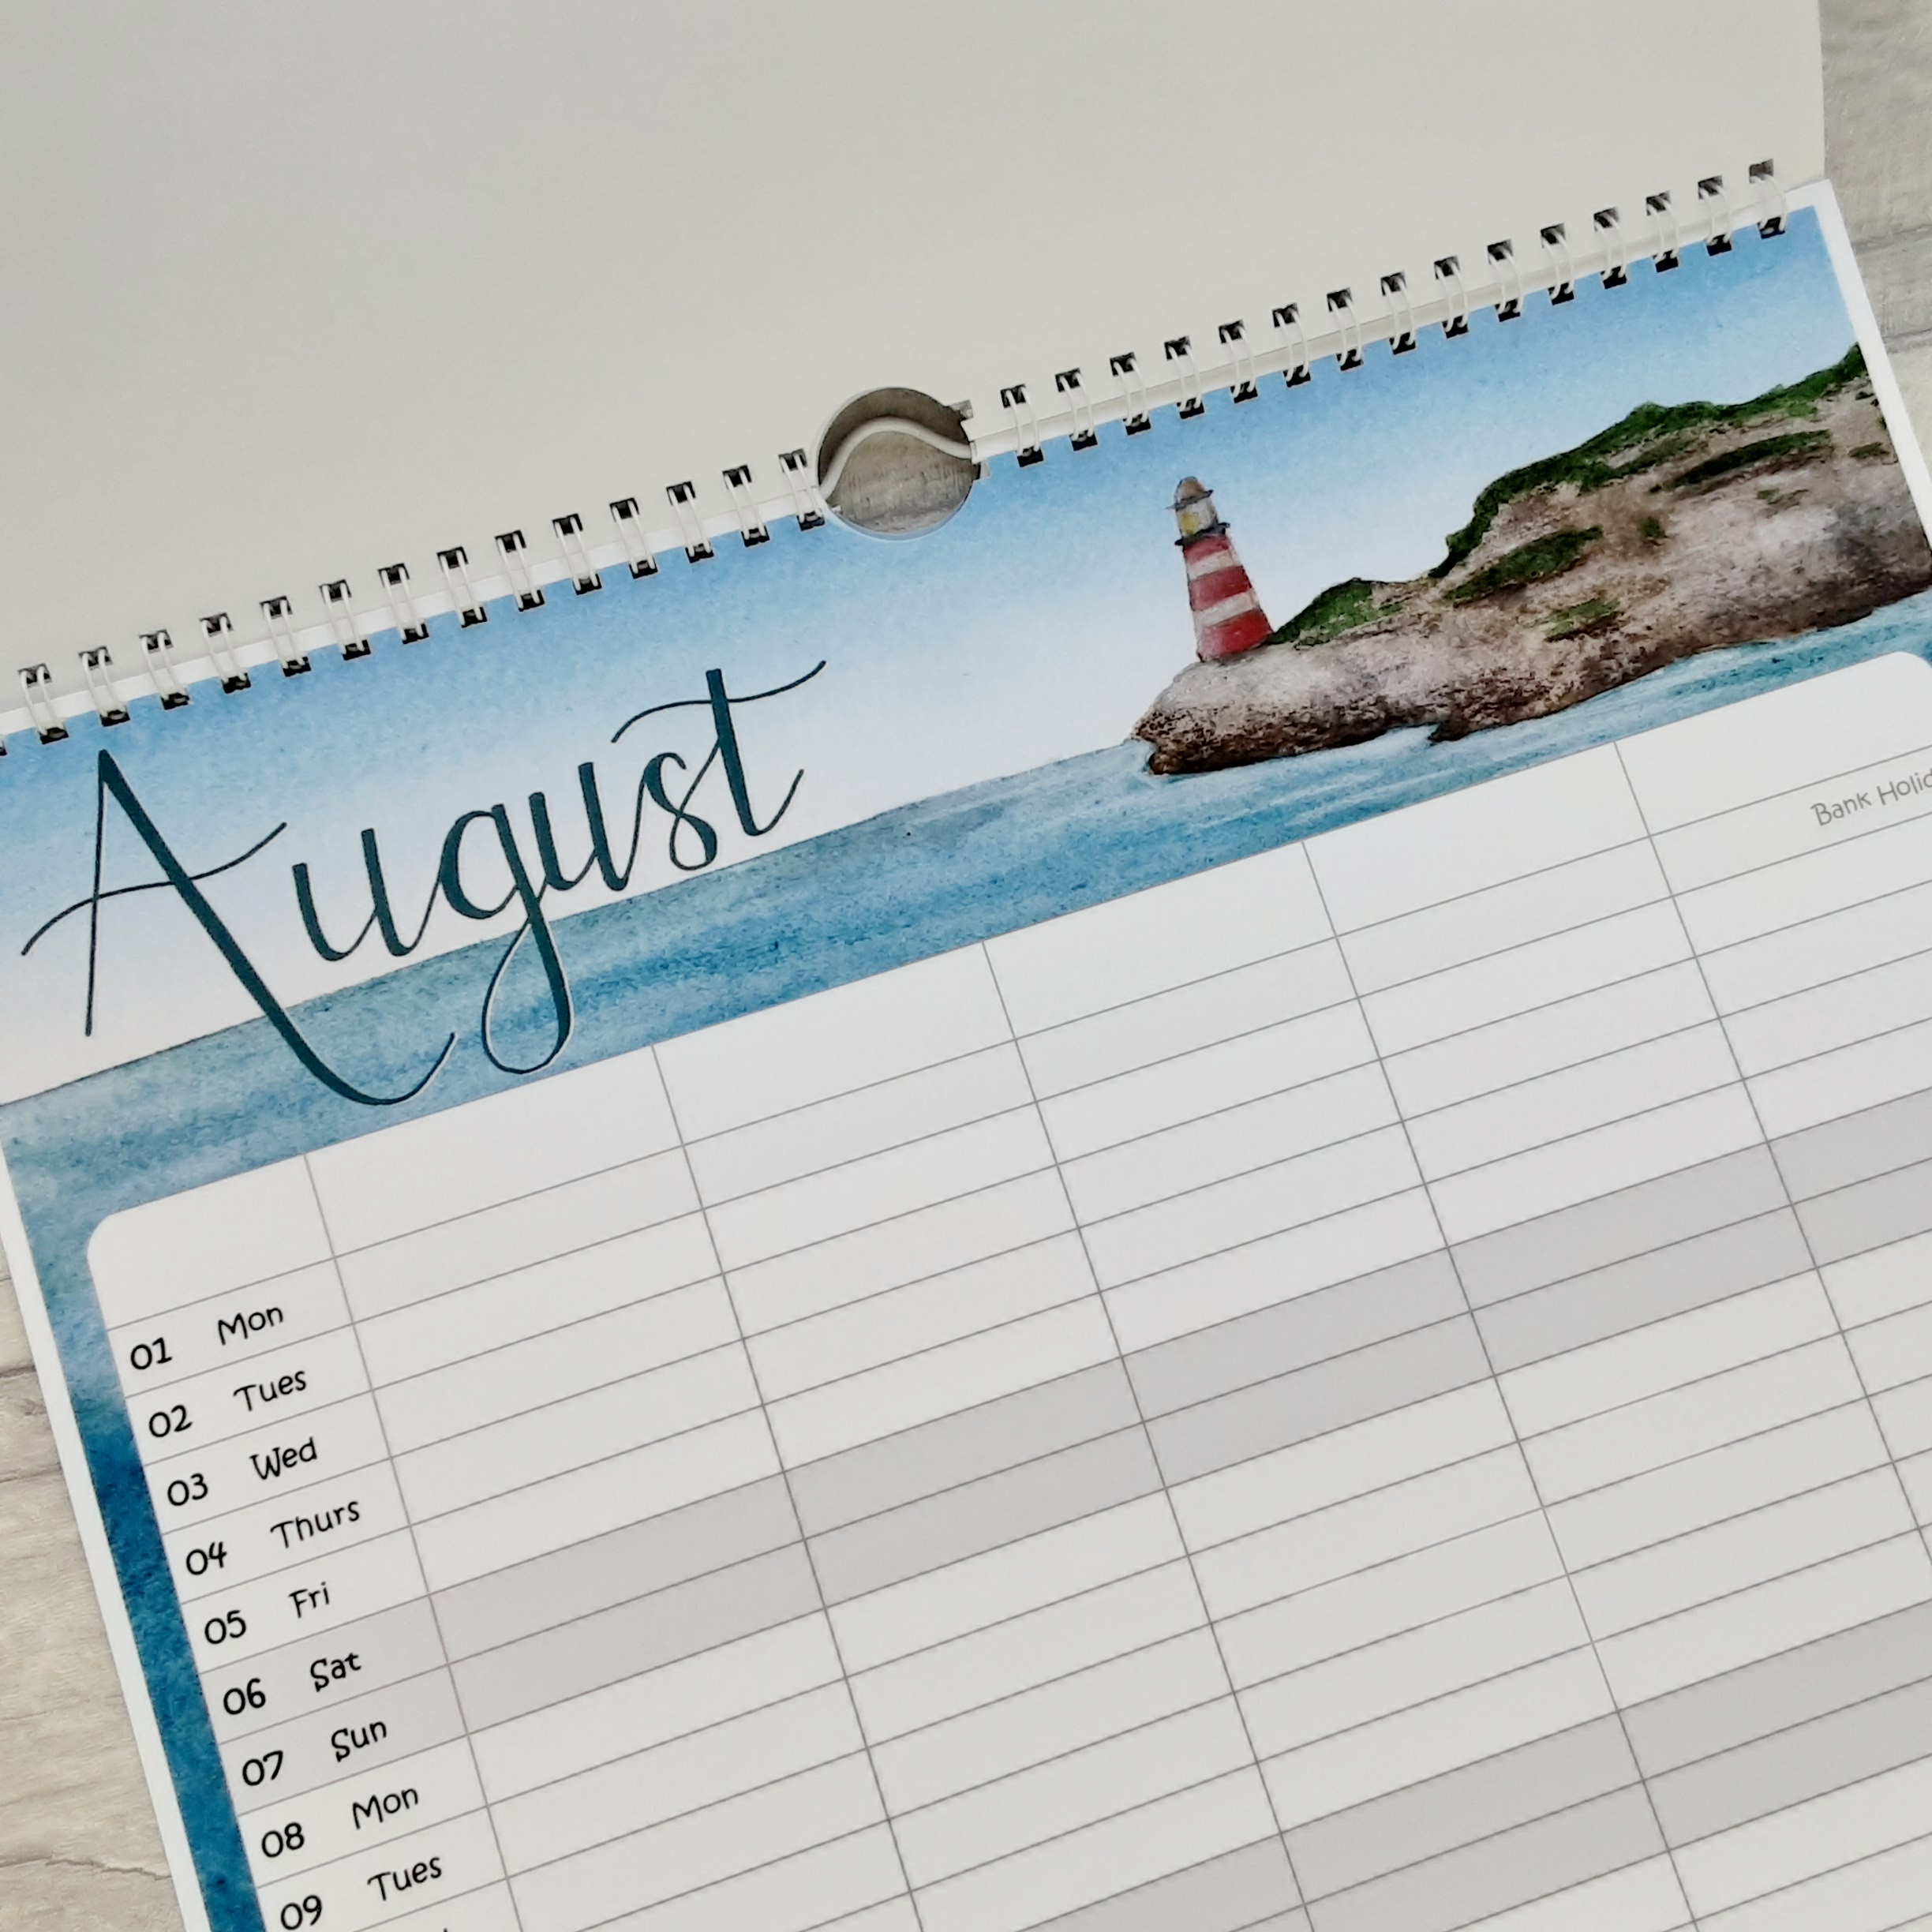
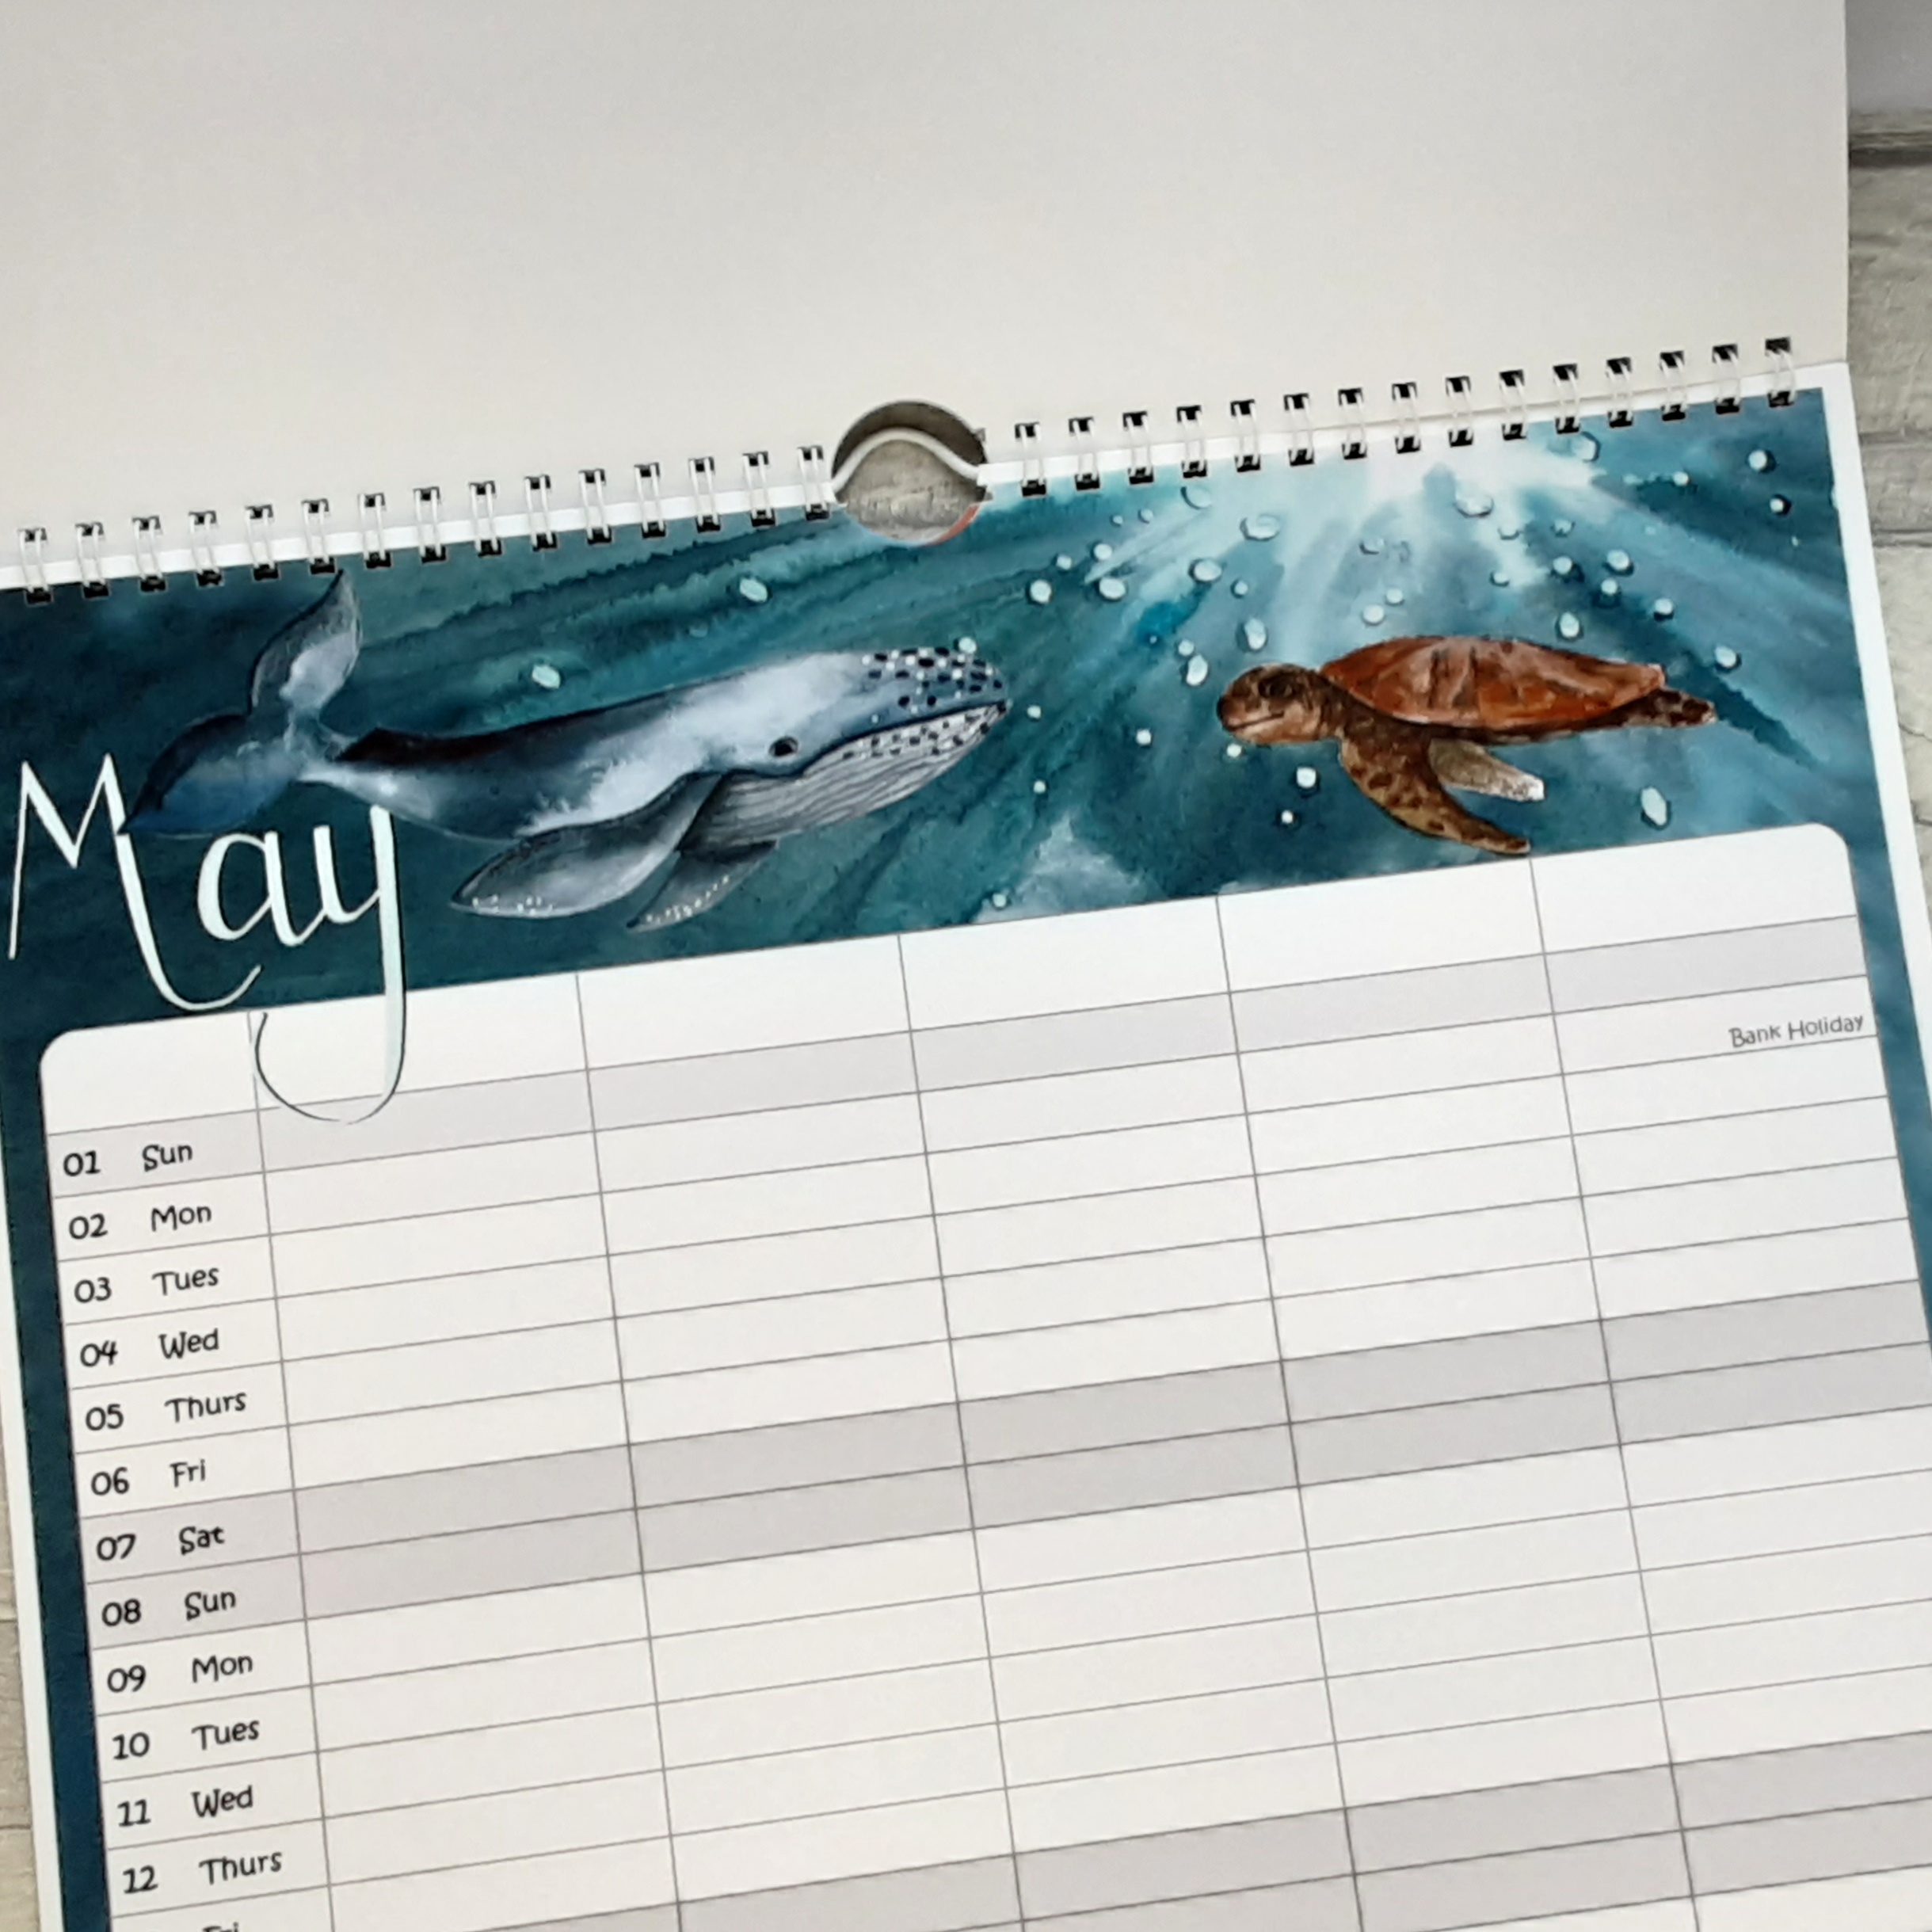
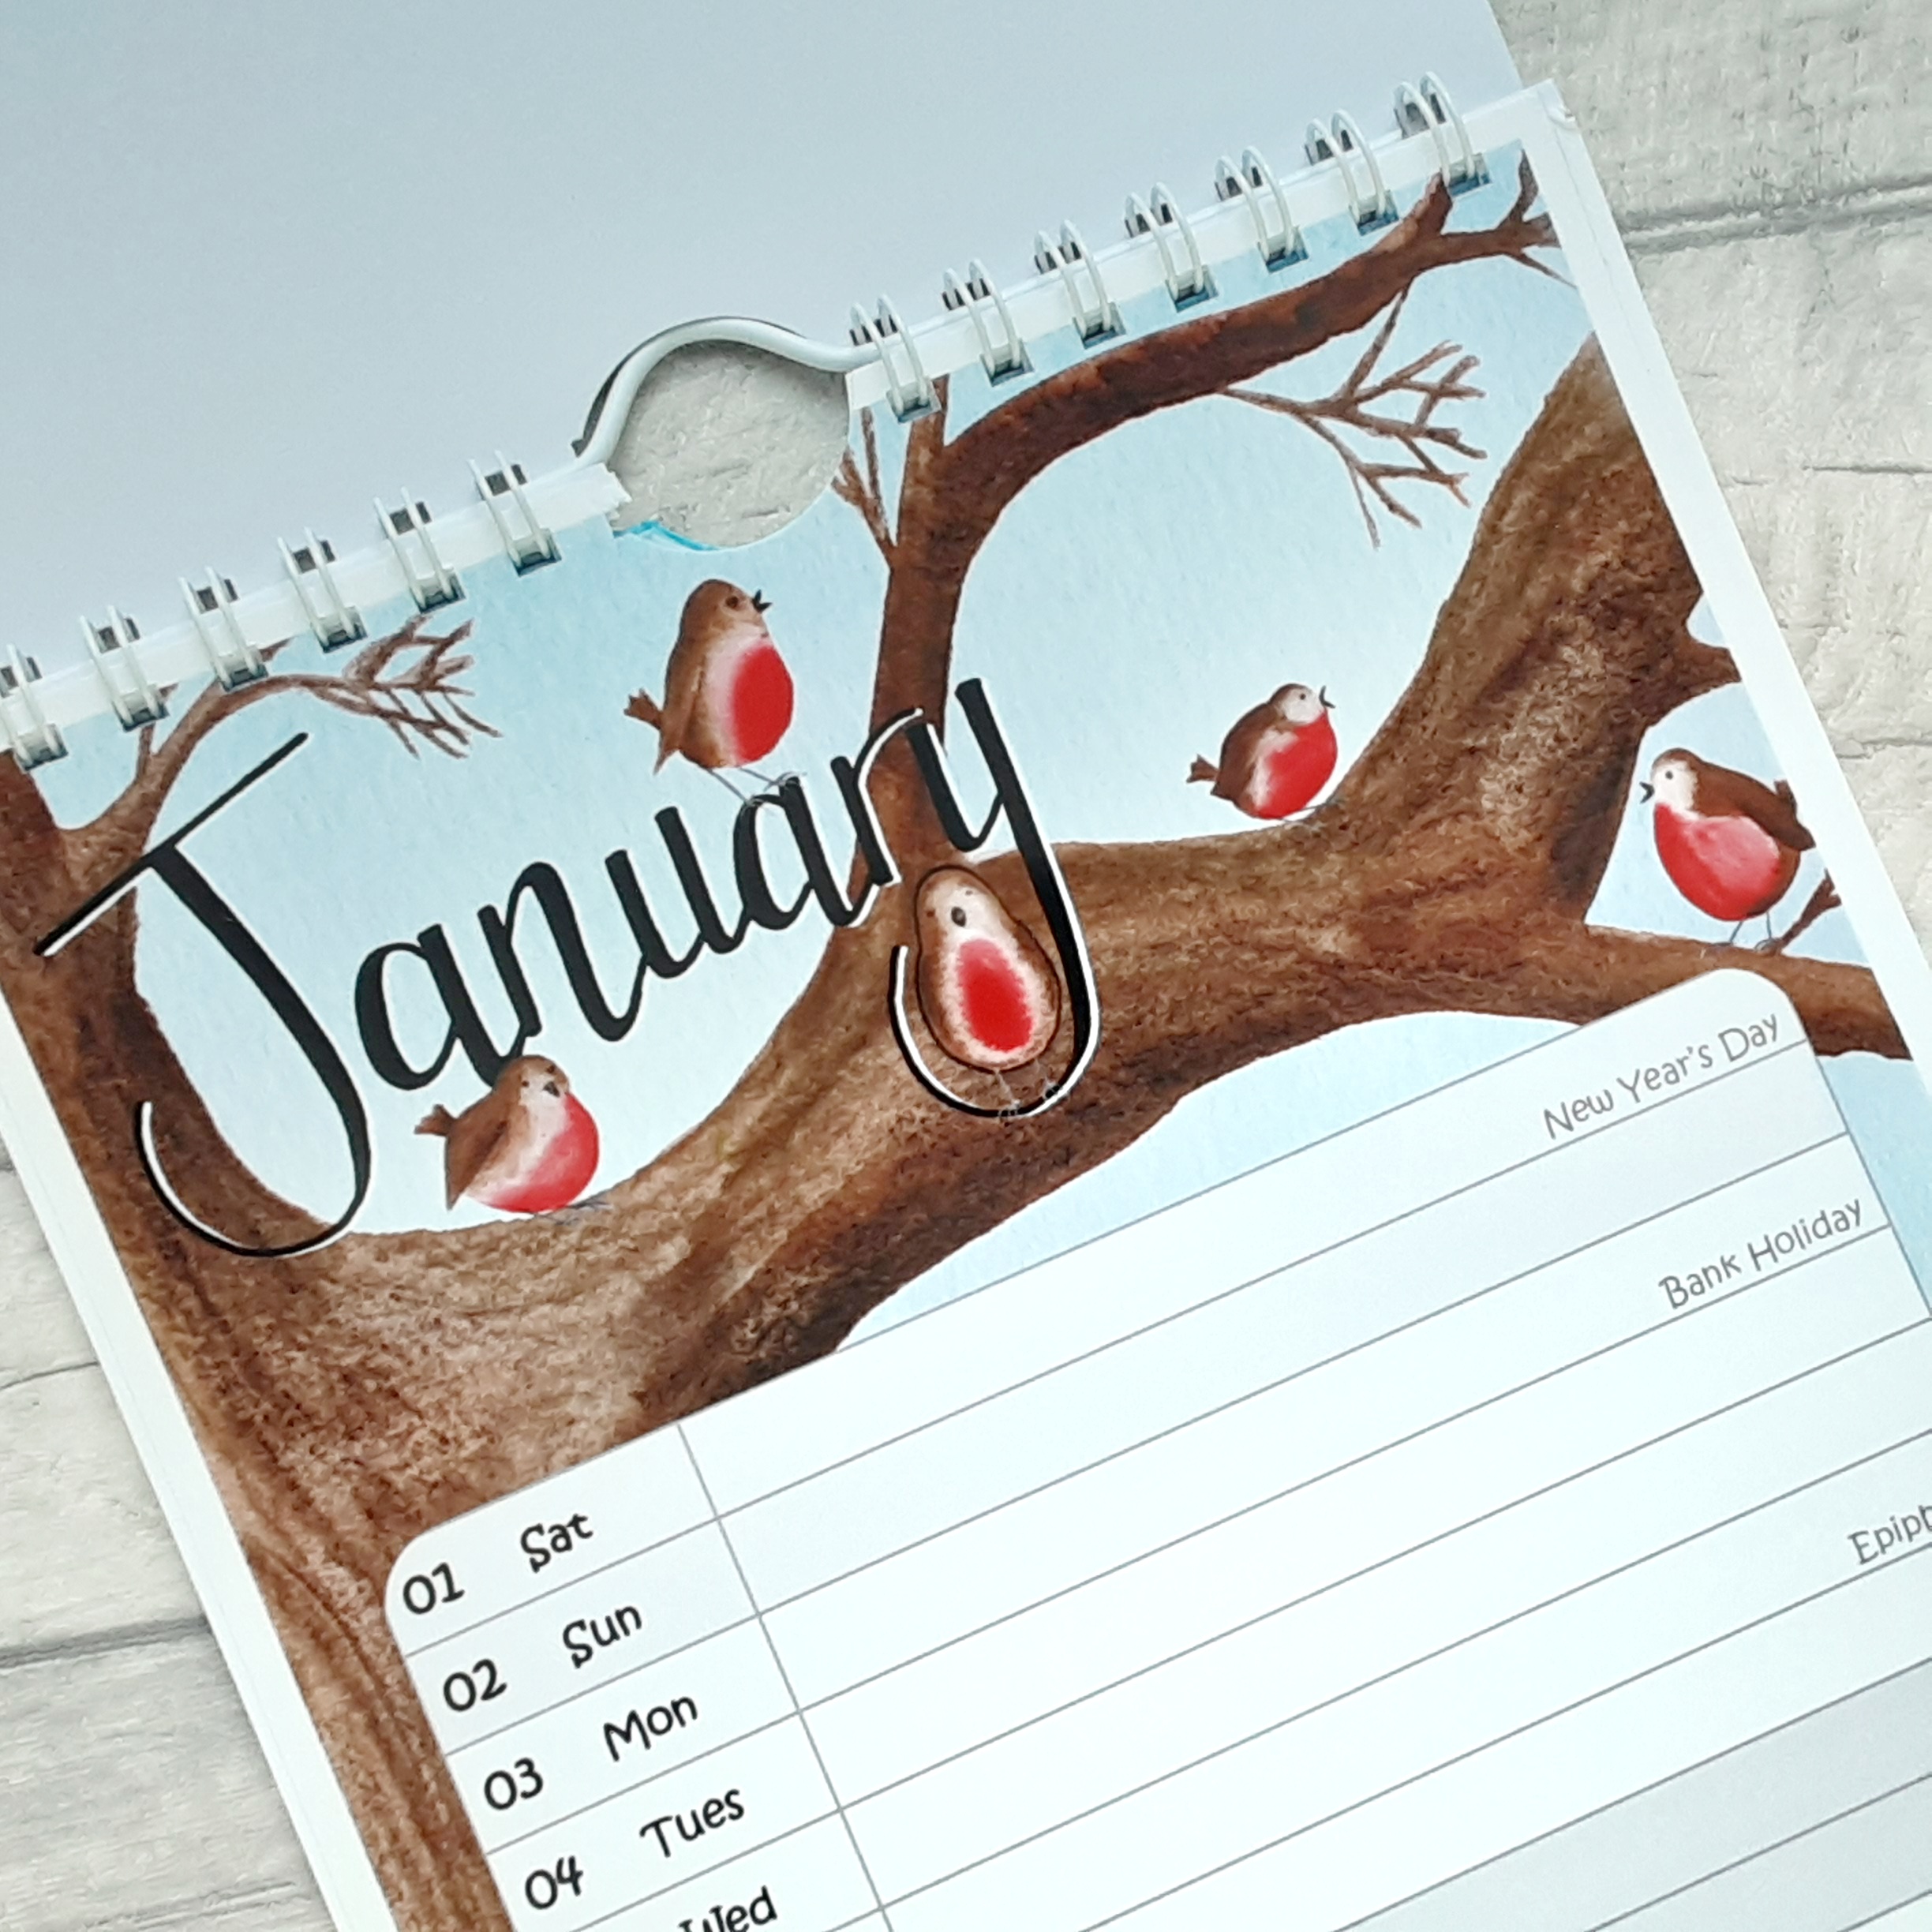
The first stage of assembling the calendars is to punch a semi circle at the top in the centre. This enables the pages to be turned over the hanging hook. I couldn't find a semi circle punch so I've been a little inventive with a circle one and some tape! I also have it attached to an oh-so-technical piece of paper with a few guidelines drawn on to help me line up the calendar pages.
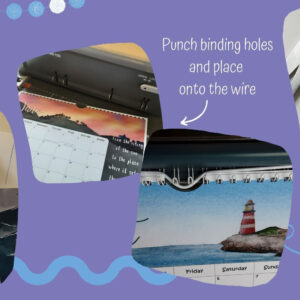
Next they need putting into the binding stage. I prepare the binding machine by adding a binding wire and a calendar hook into the slot that I have along the back of my machine. First they need the holes punching in along the top. This is the bit I find the hardest because I like the semi circle punch to look central and my oh-so-technical piece of paper doesn't always seem to be so exact when I line the paper up! Once the holes are punched in, the pages go onto the wire.
When the whole calendar is ready, the machine squeezes the wire together to stop the pages falling out. One extra little tip that I picked up early on was to flip the back page over to the front before binding. This enables the binding 'seam' to be inside the calendar, so it's hidden until the end of the year, rather than when you initially receive the calendar.
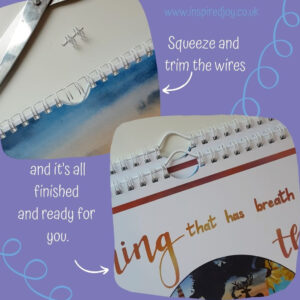
The final stage is to trim the wire over the semi-circle. This is a bit fiddly, but I find it much easier than trying to bind using two separate wires. And then they're all finished and ready to go off to their new homes.
You can find them in my shop here for most of the year.