Posted on

Designing My 2022 Calendar

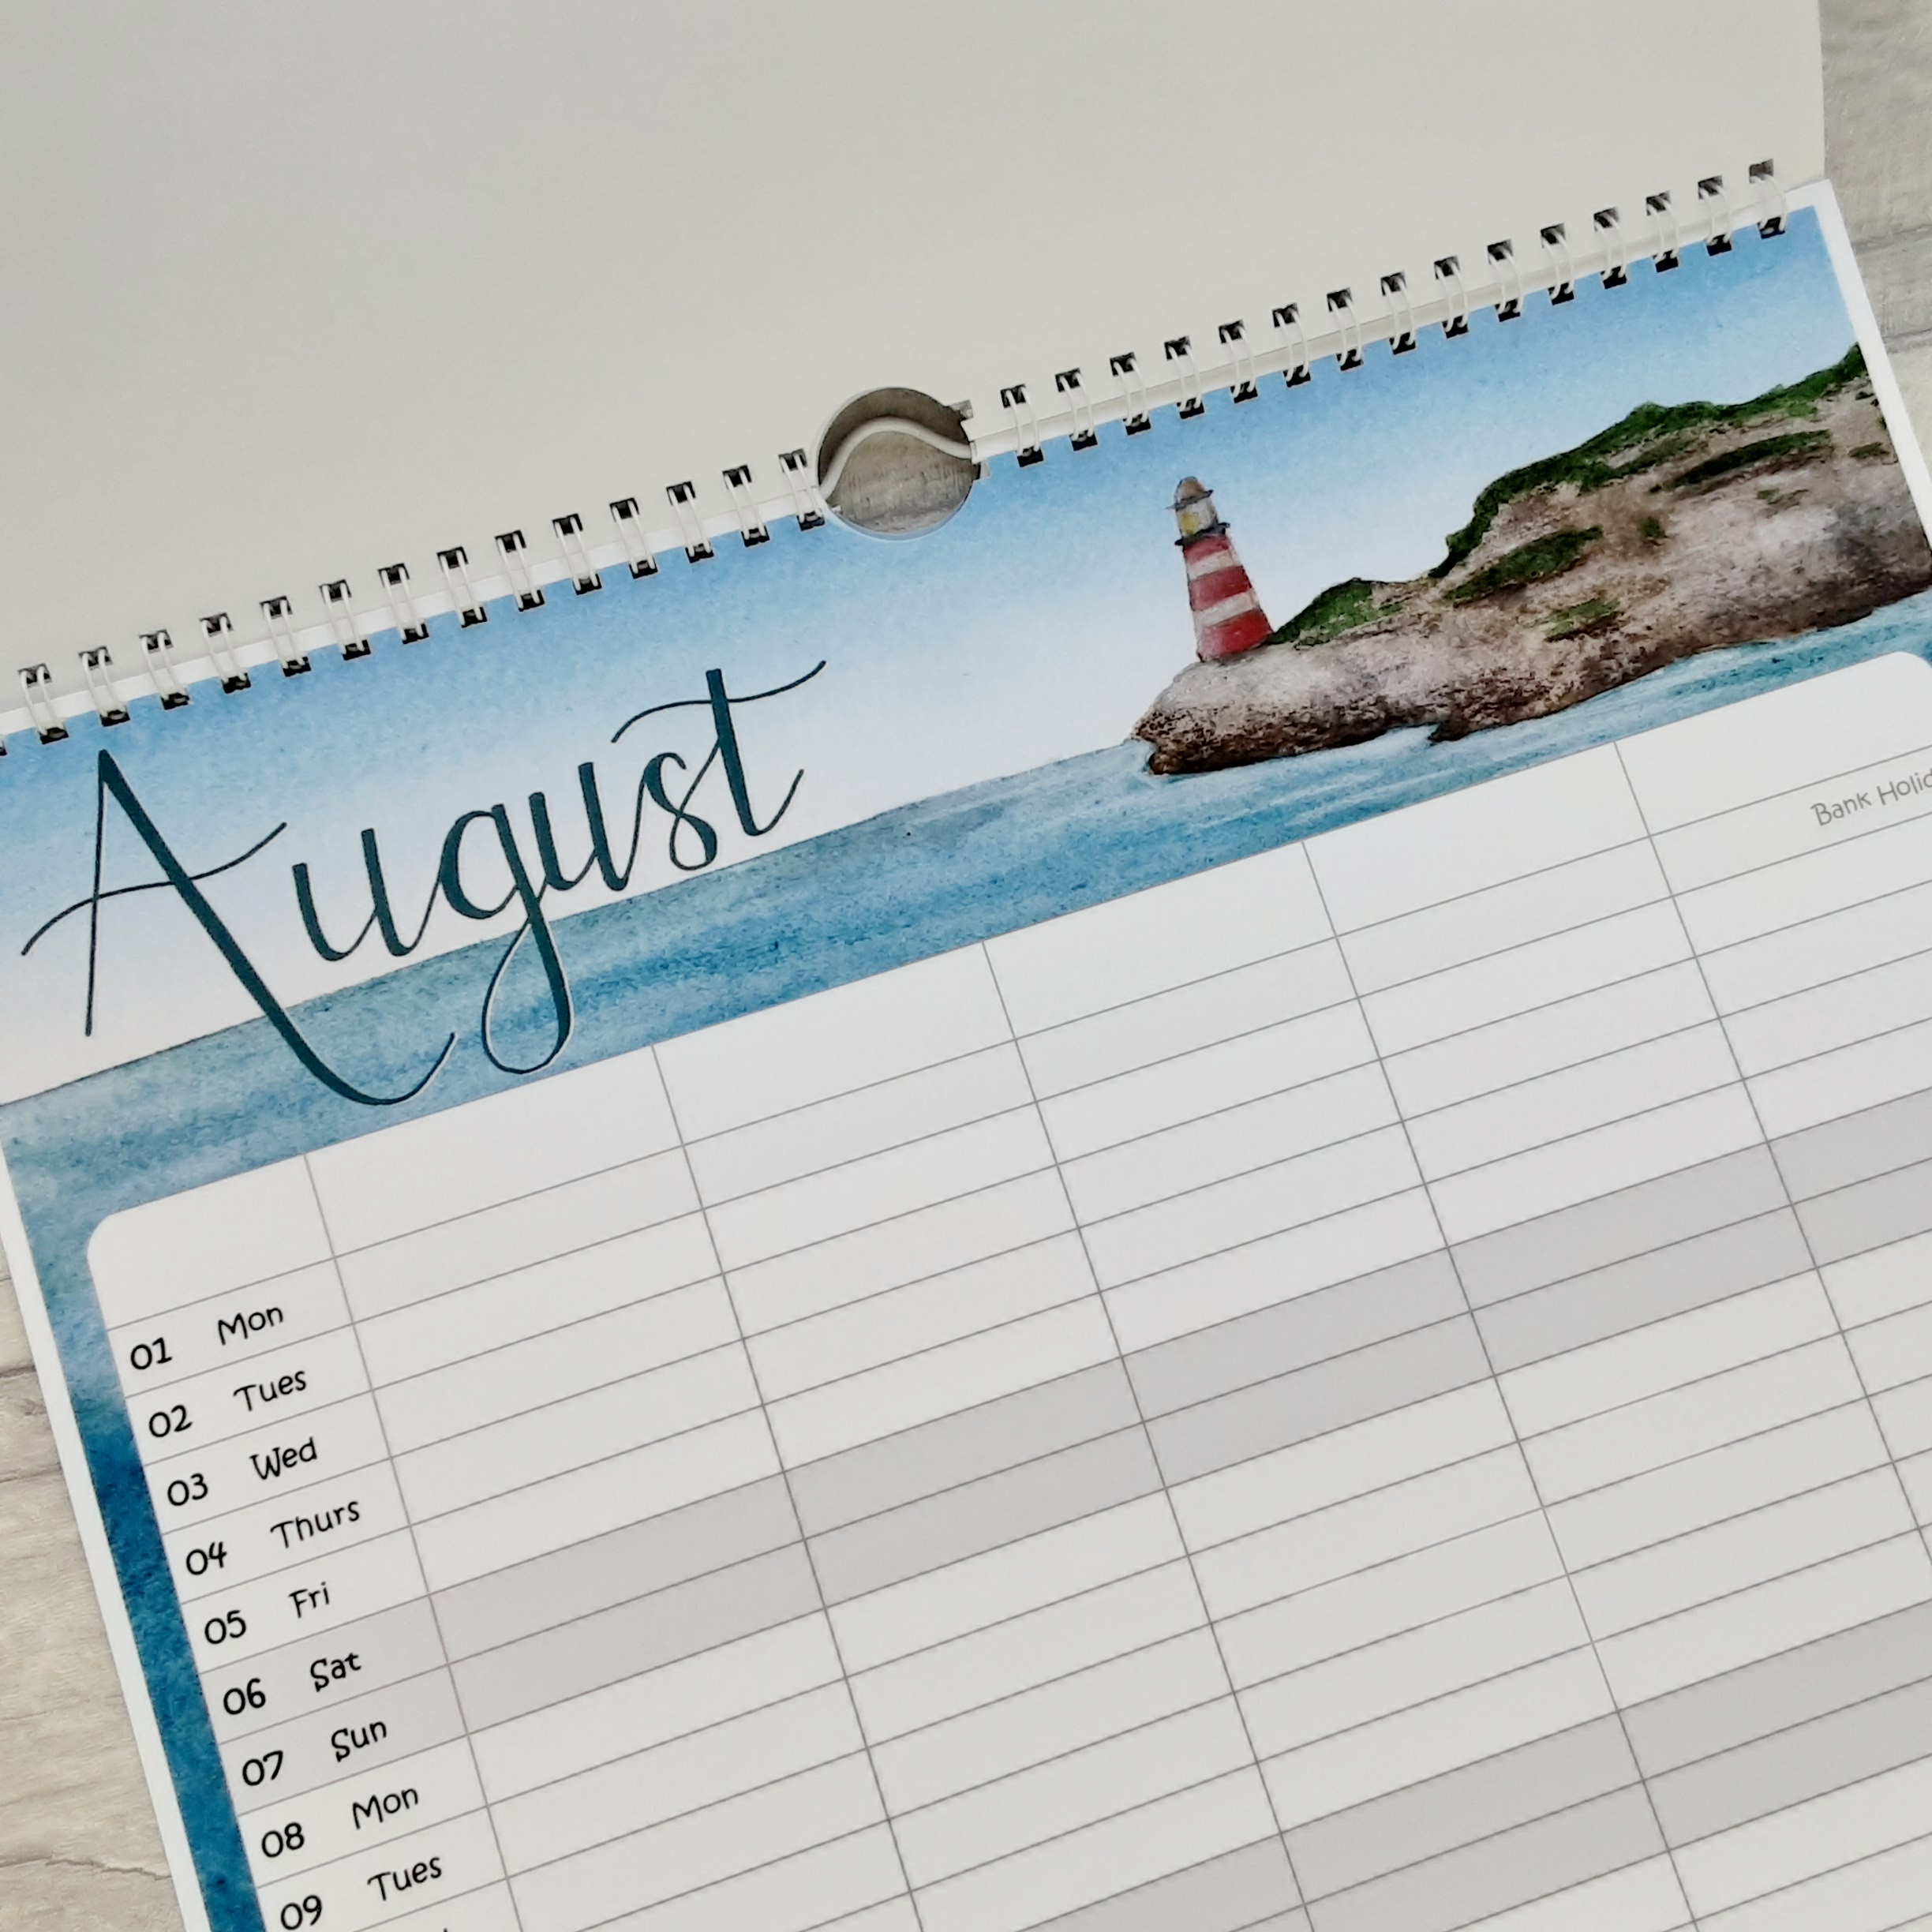
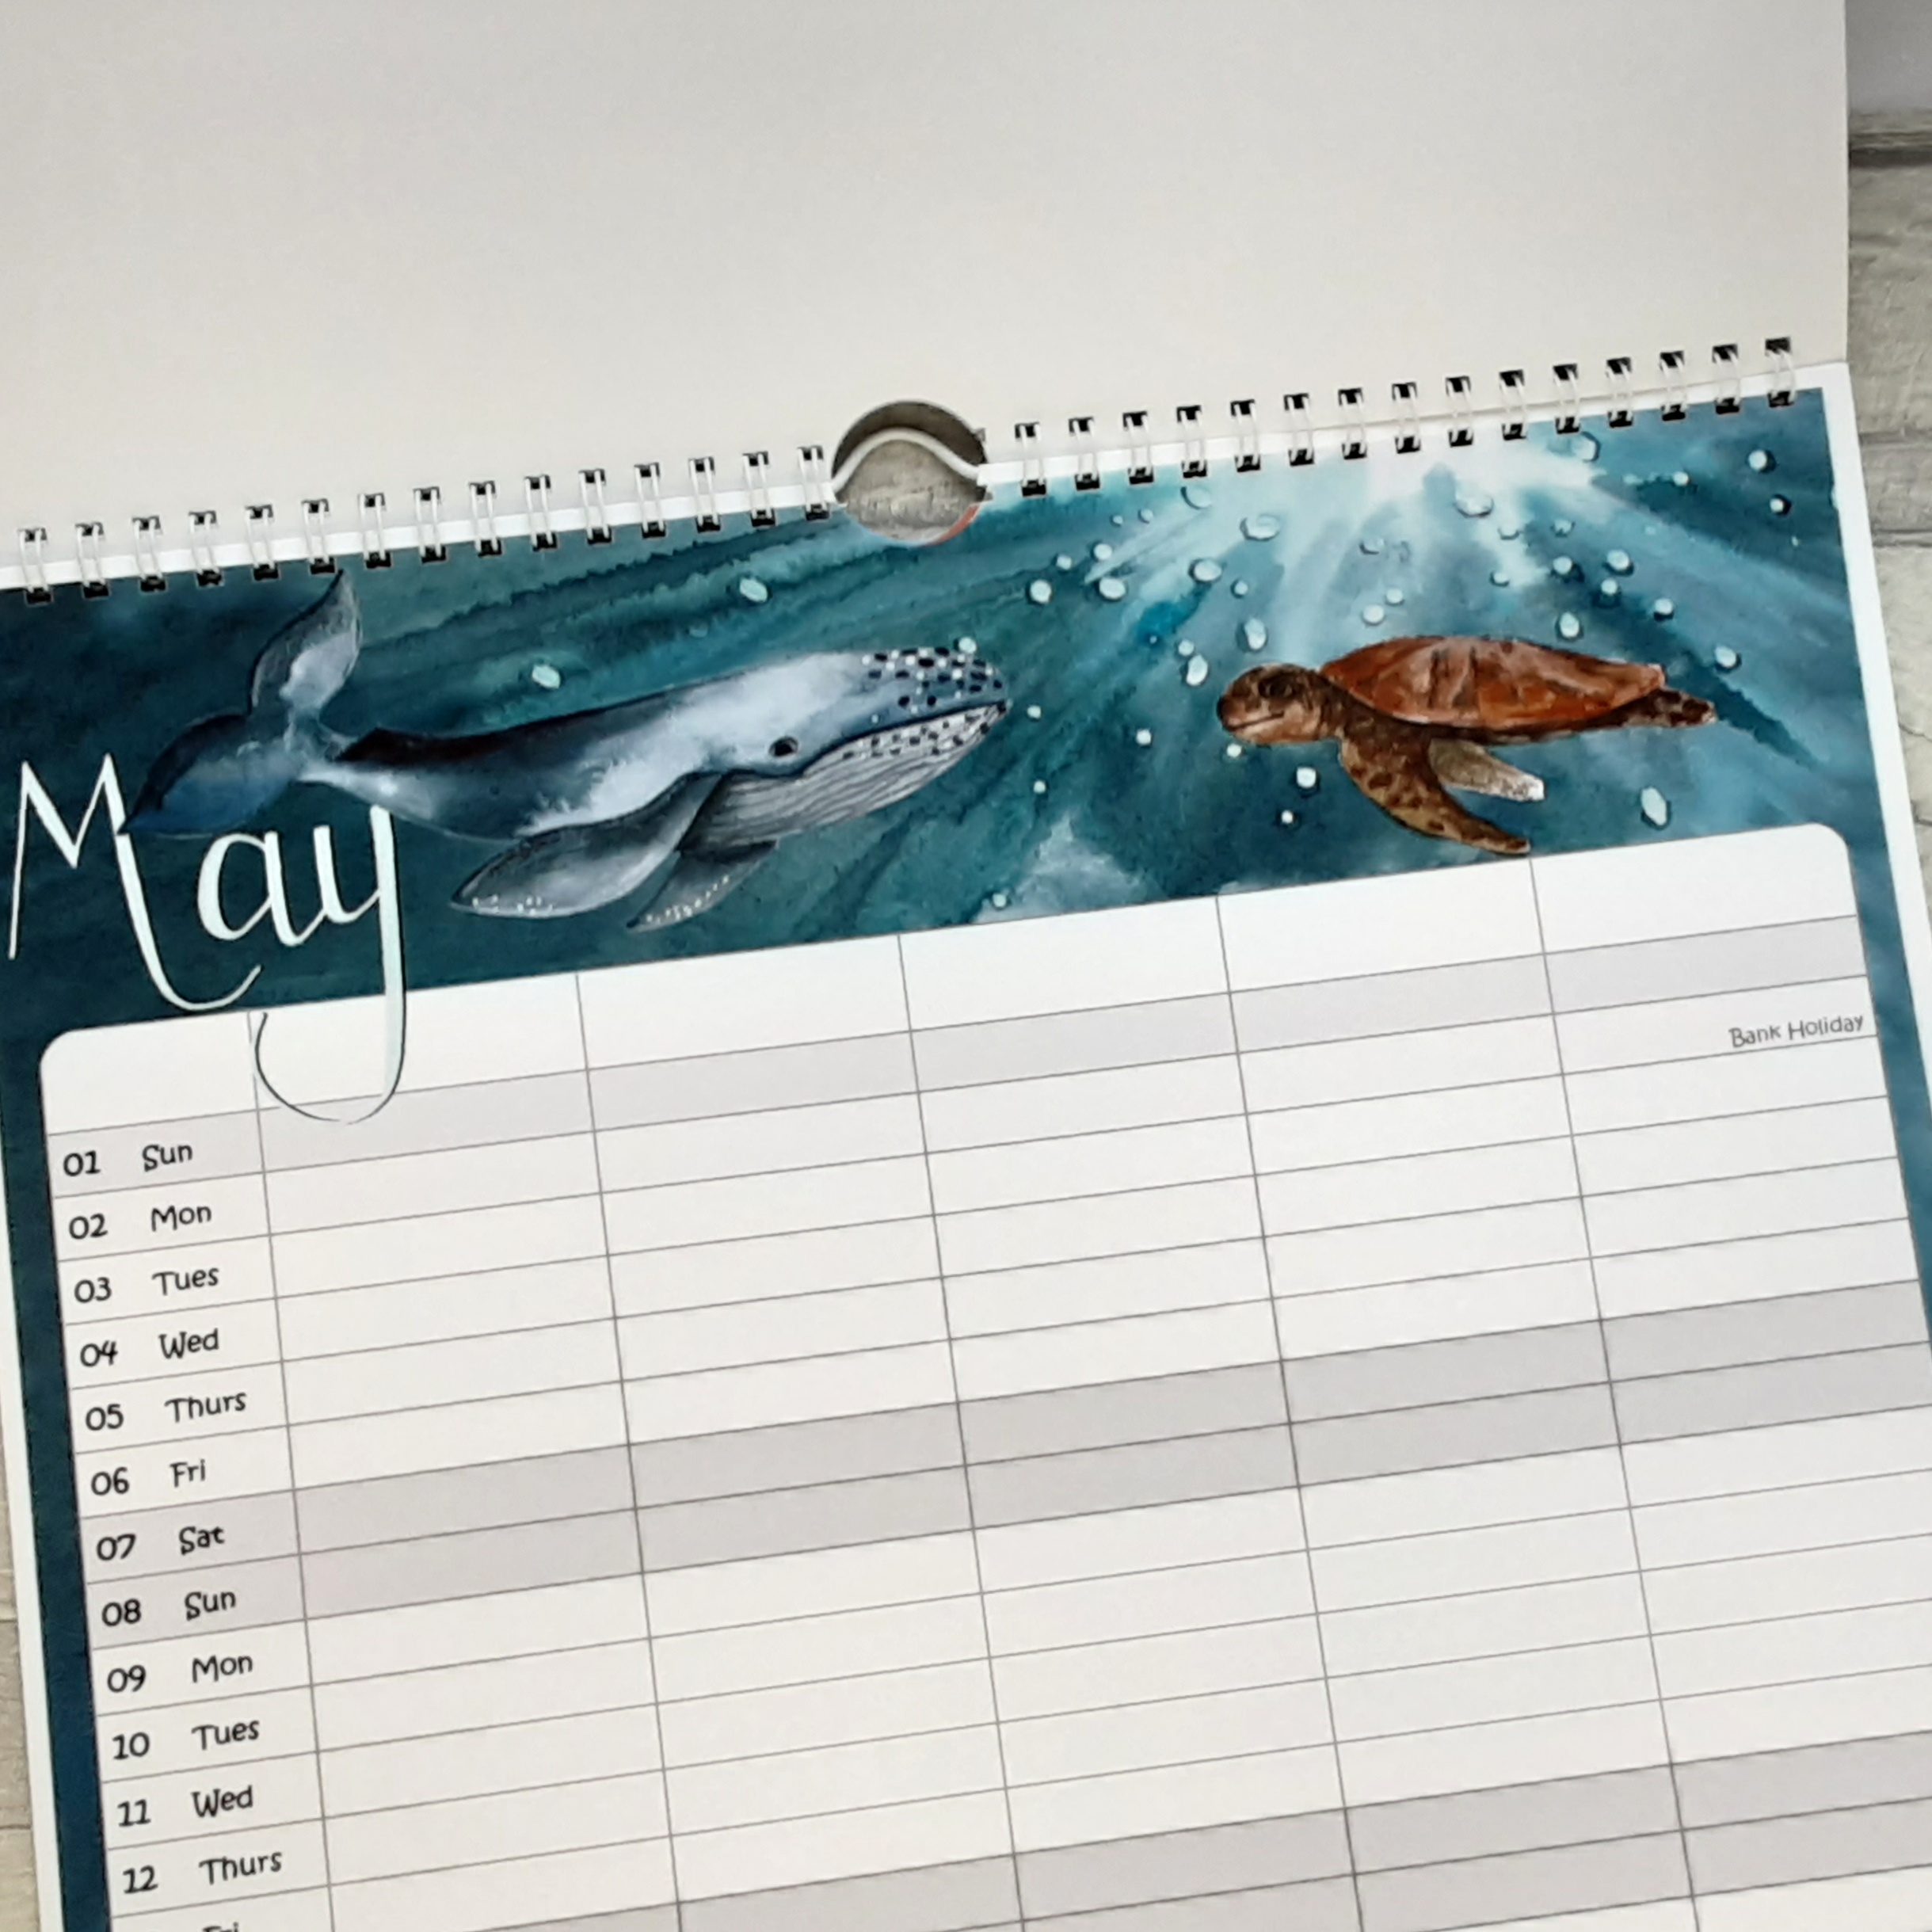
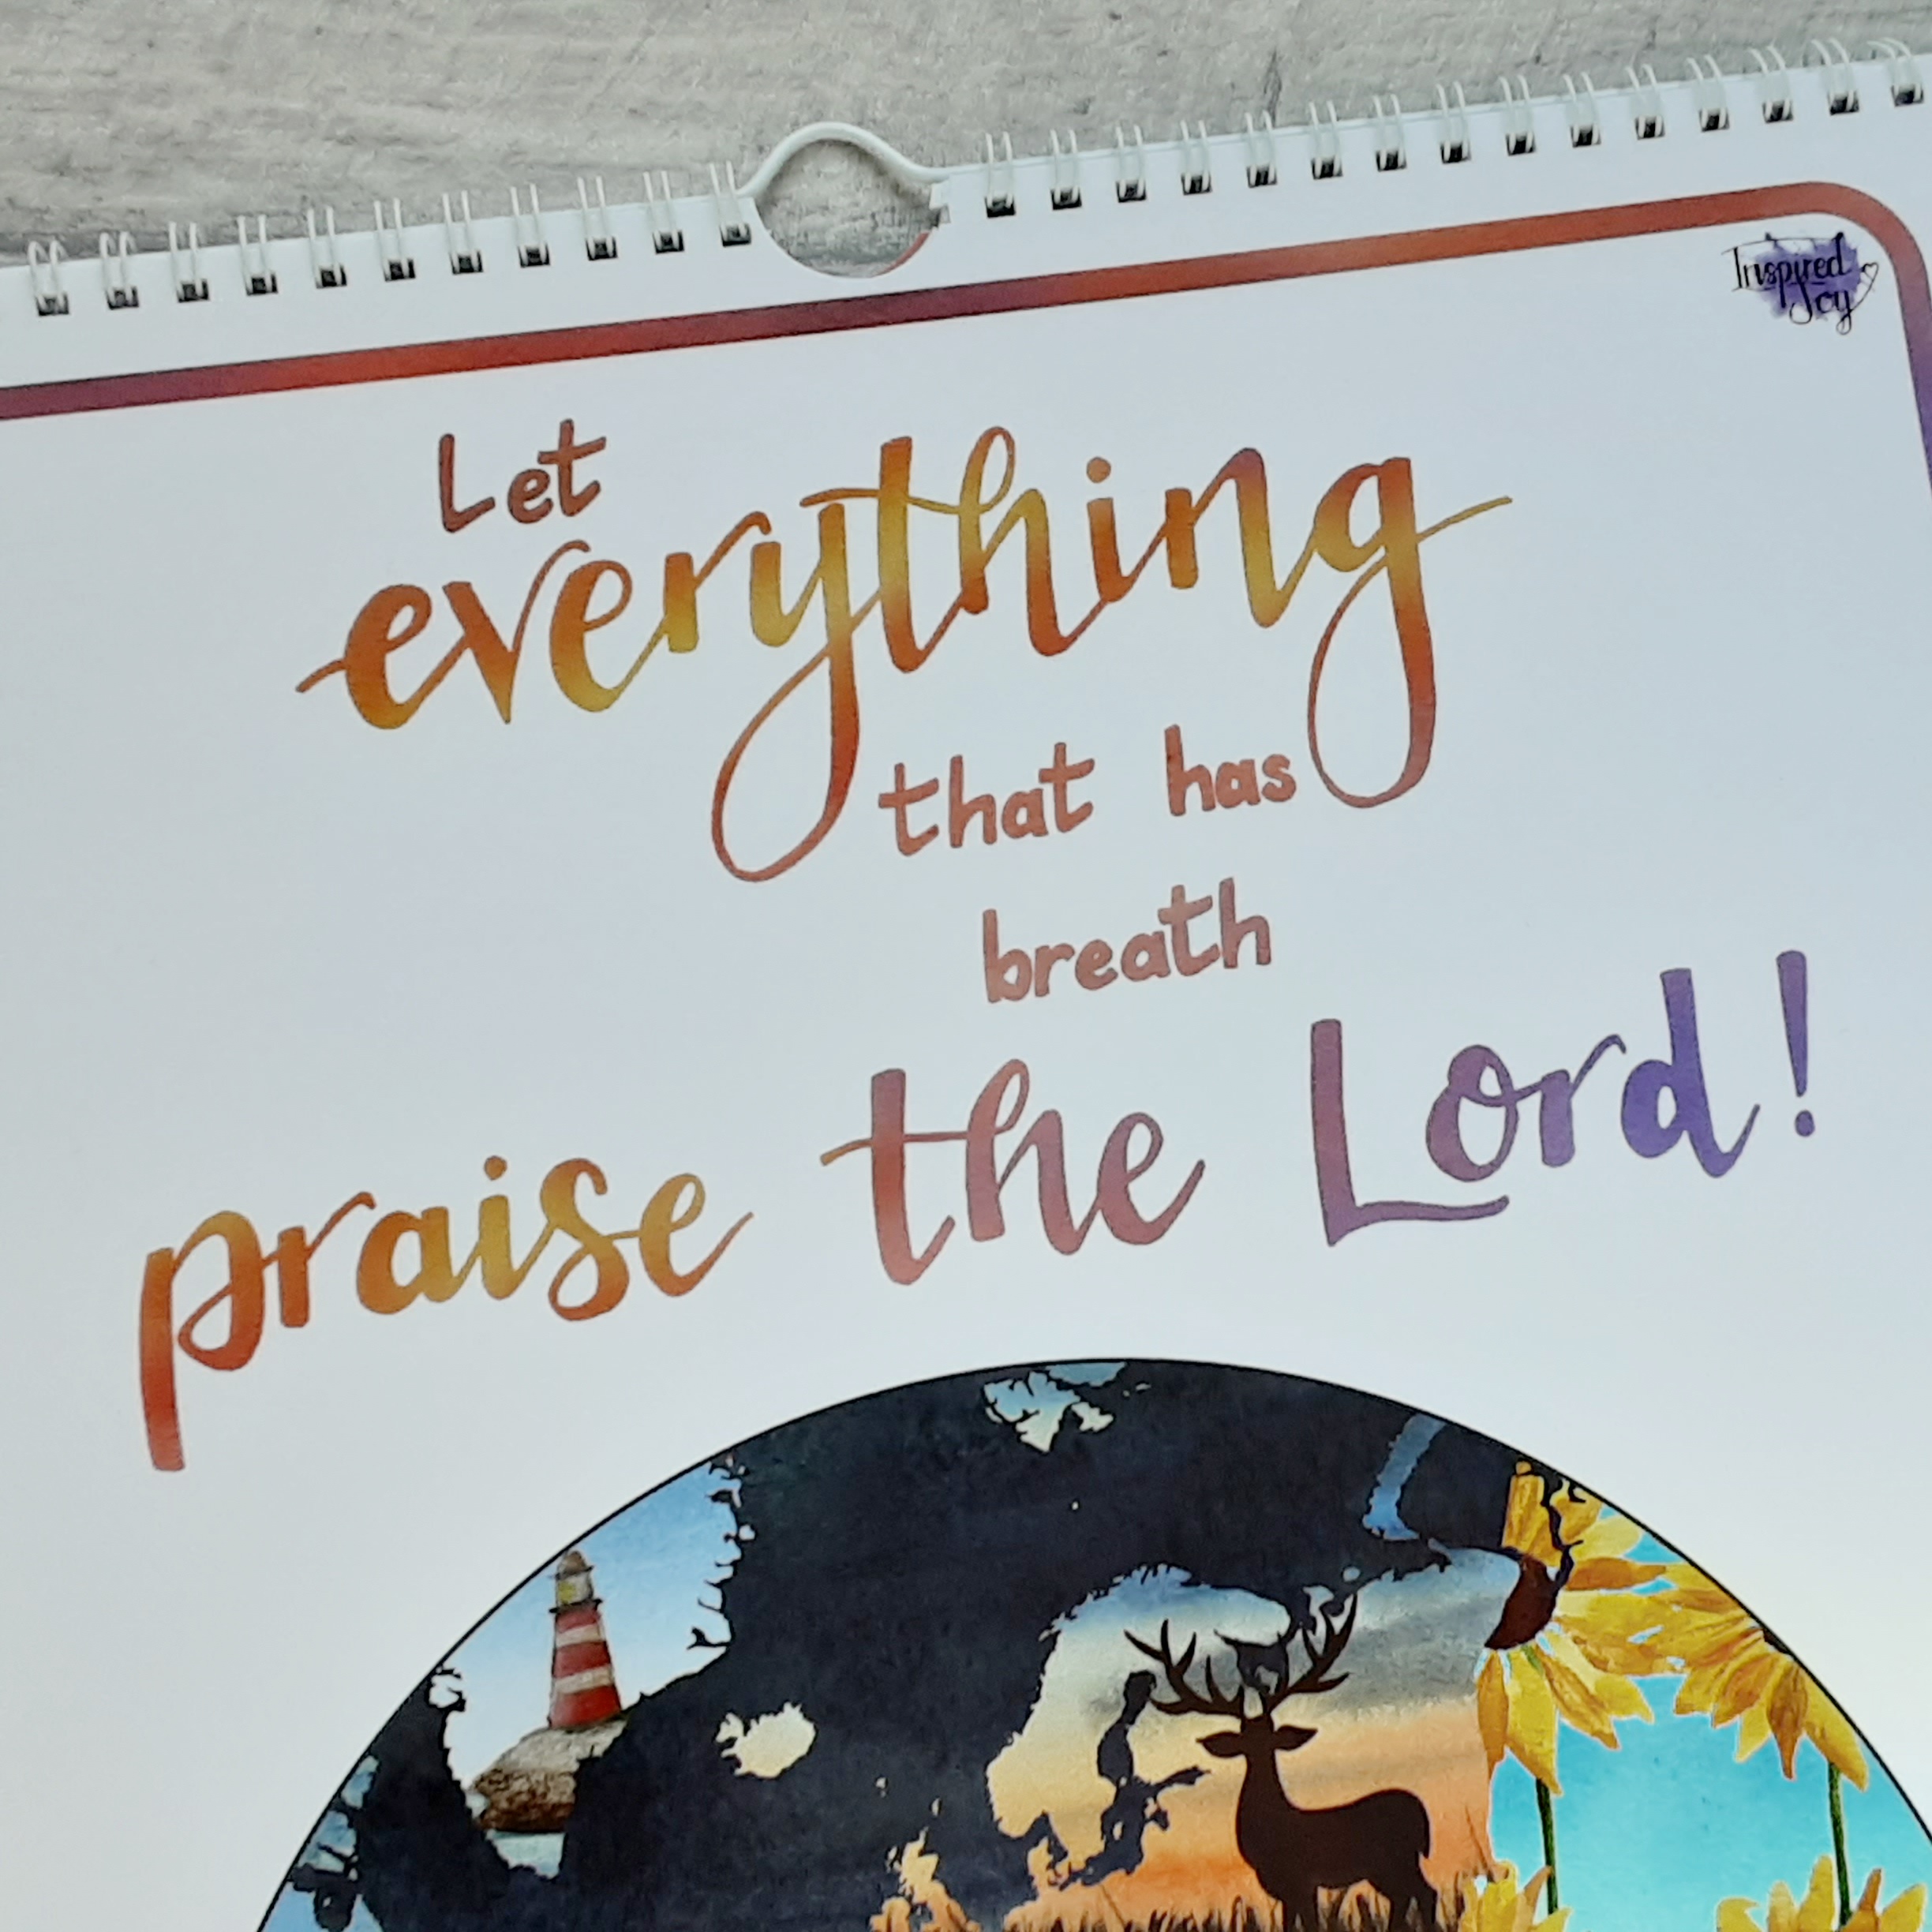
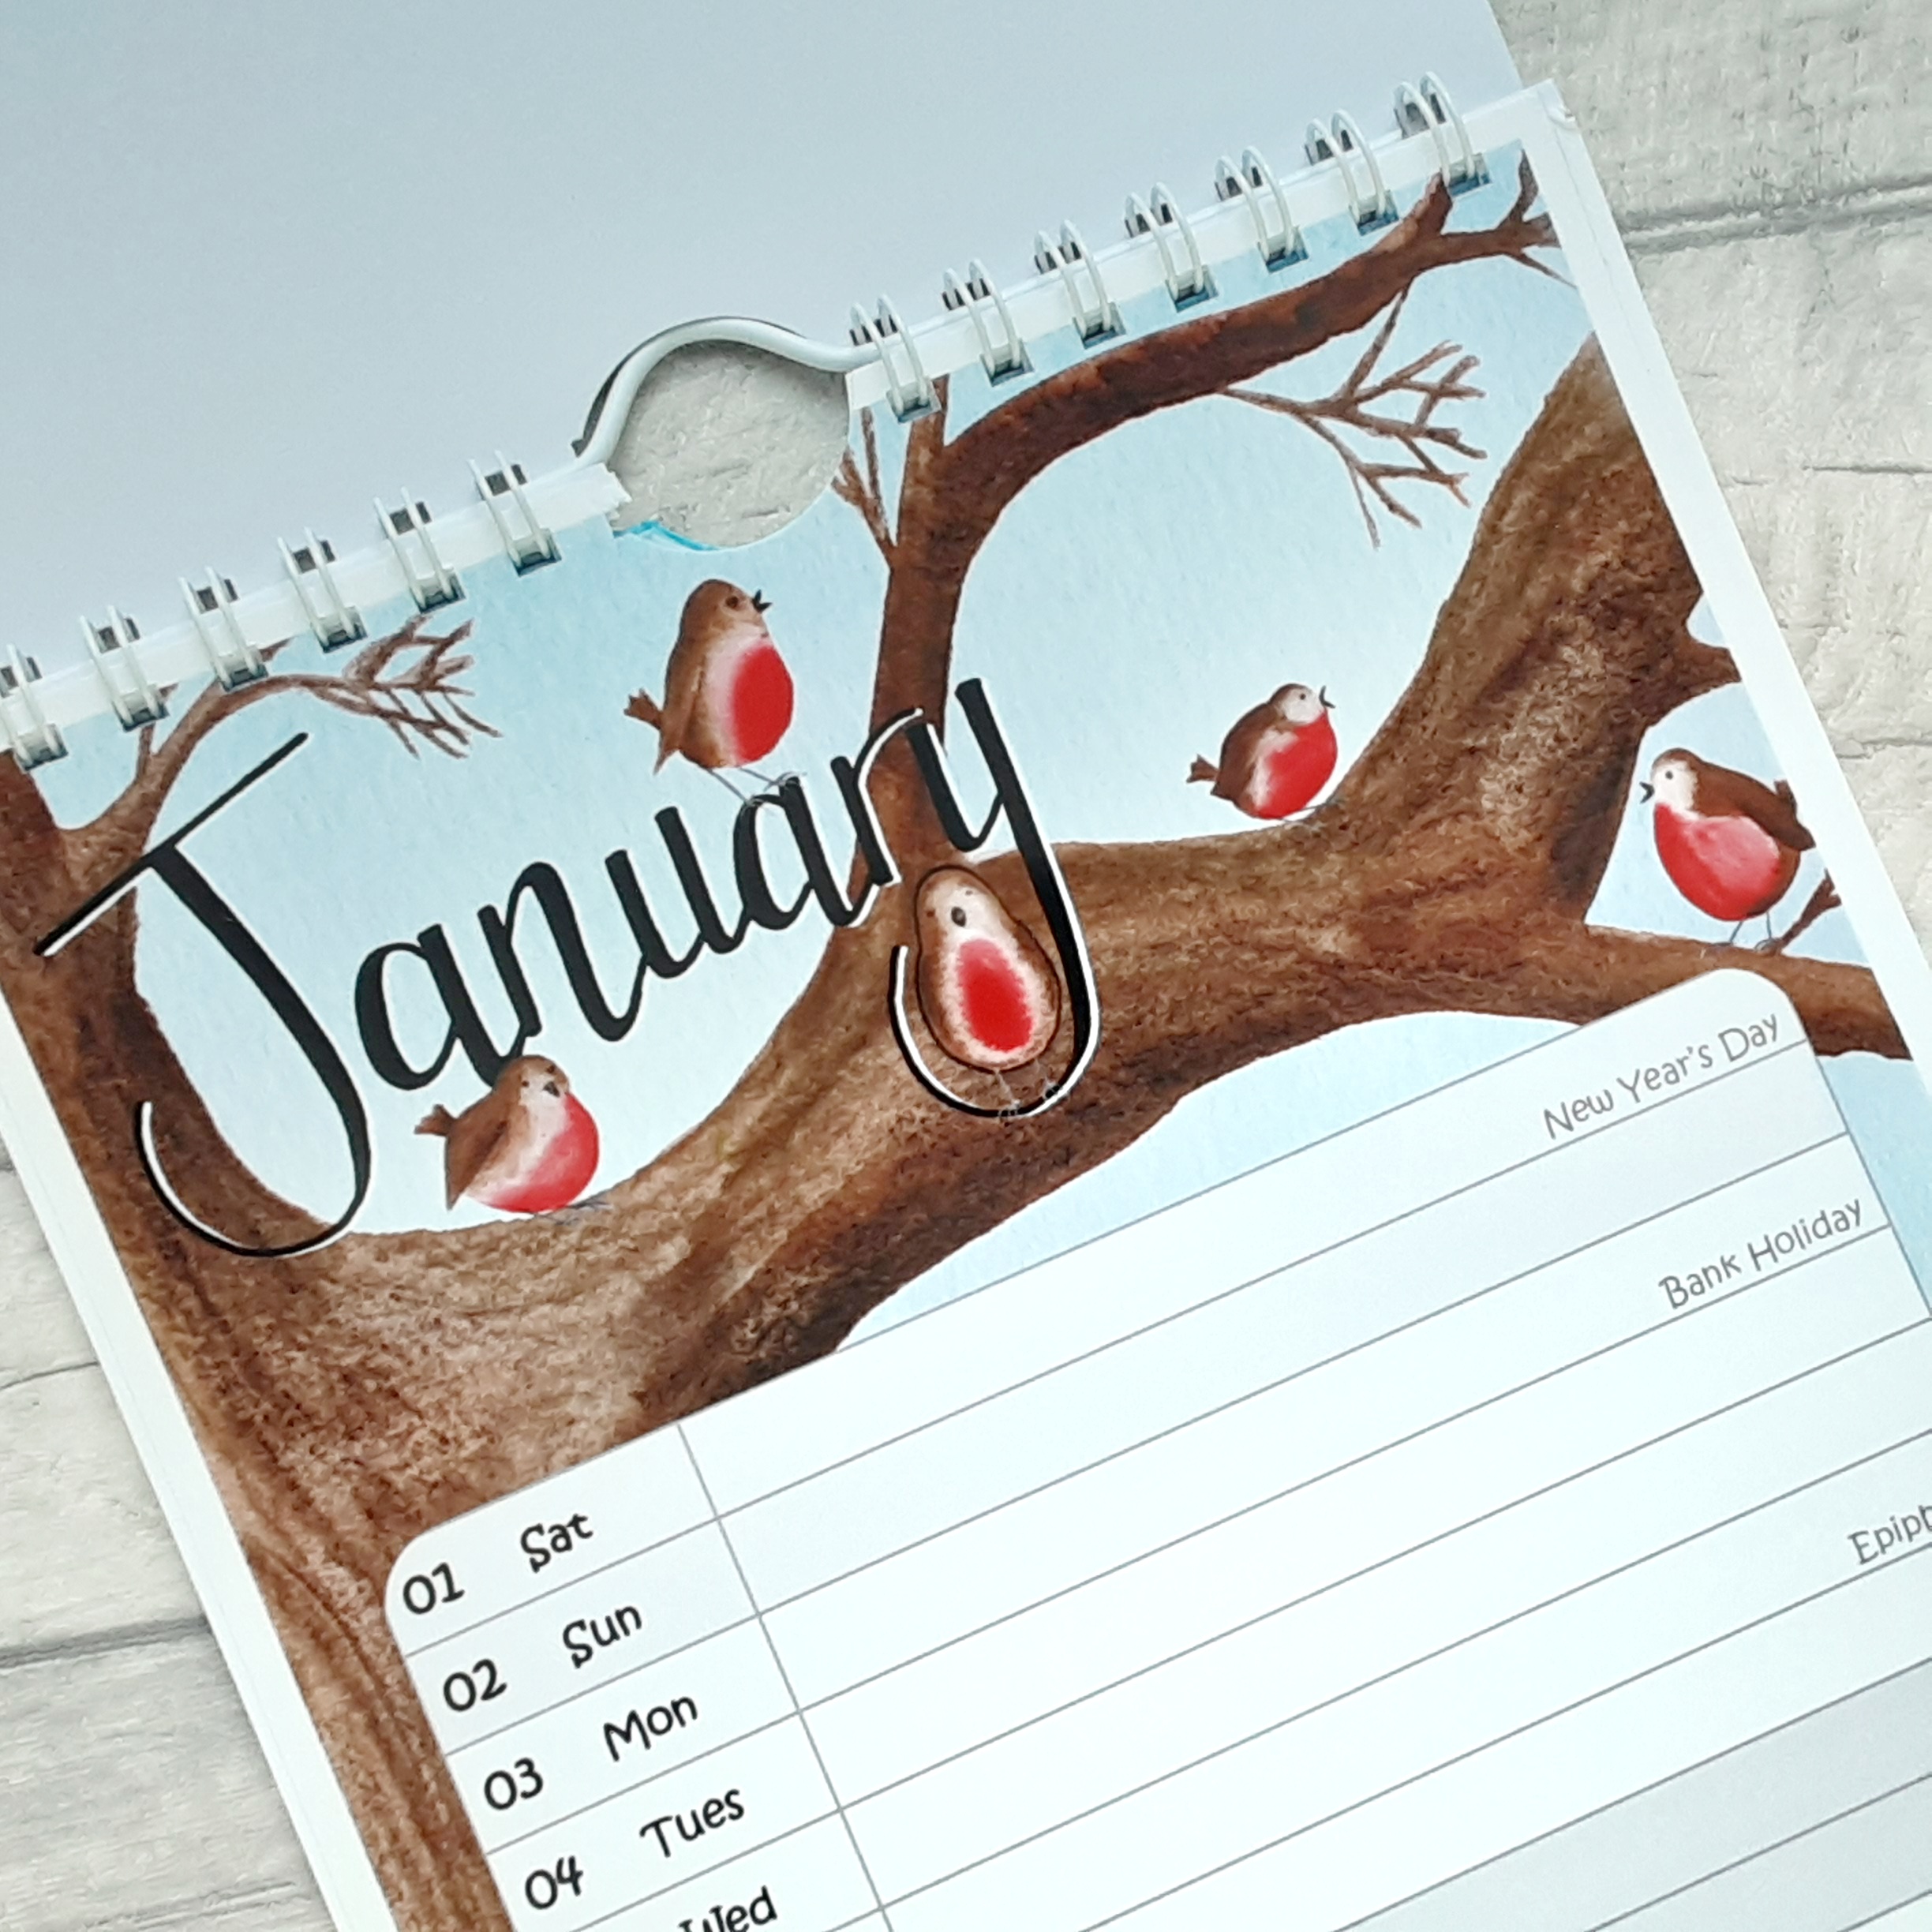
I start thinking about my calendar in early summer, usually with the intention of having it all finished by September (to give me a month to print and promote).  This never happens!  This year, in the spring, I kept feeling like there was going to be a theme to the calendar this time, but wasn't sure what it was or what any of the verses were going be.  I like to prayerfully consider my verses and then illustrate rather than draw and find verses to match.


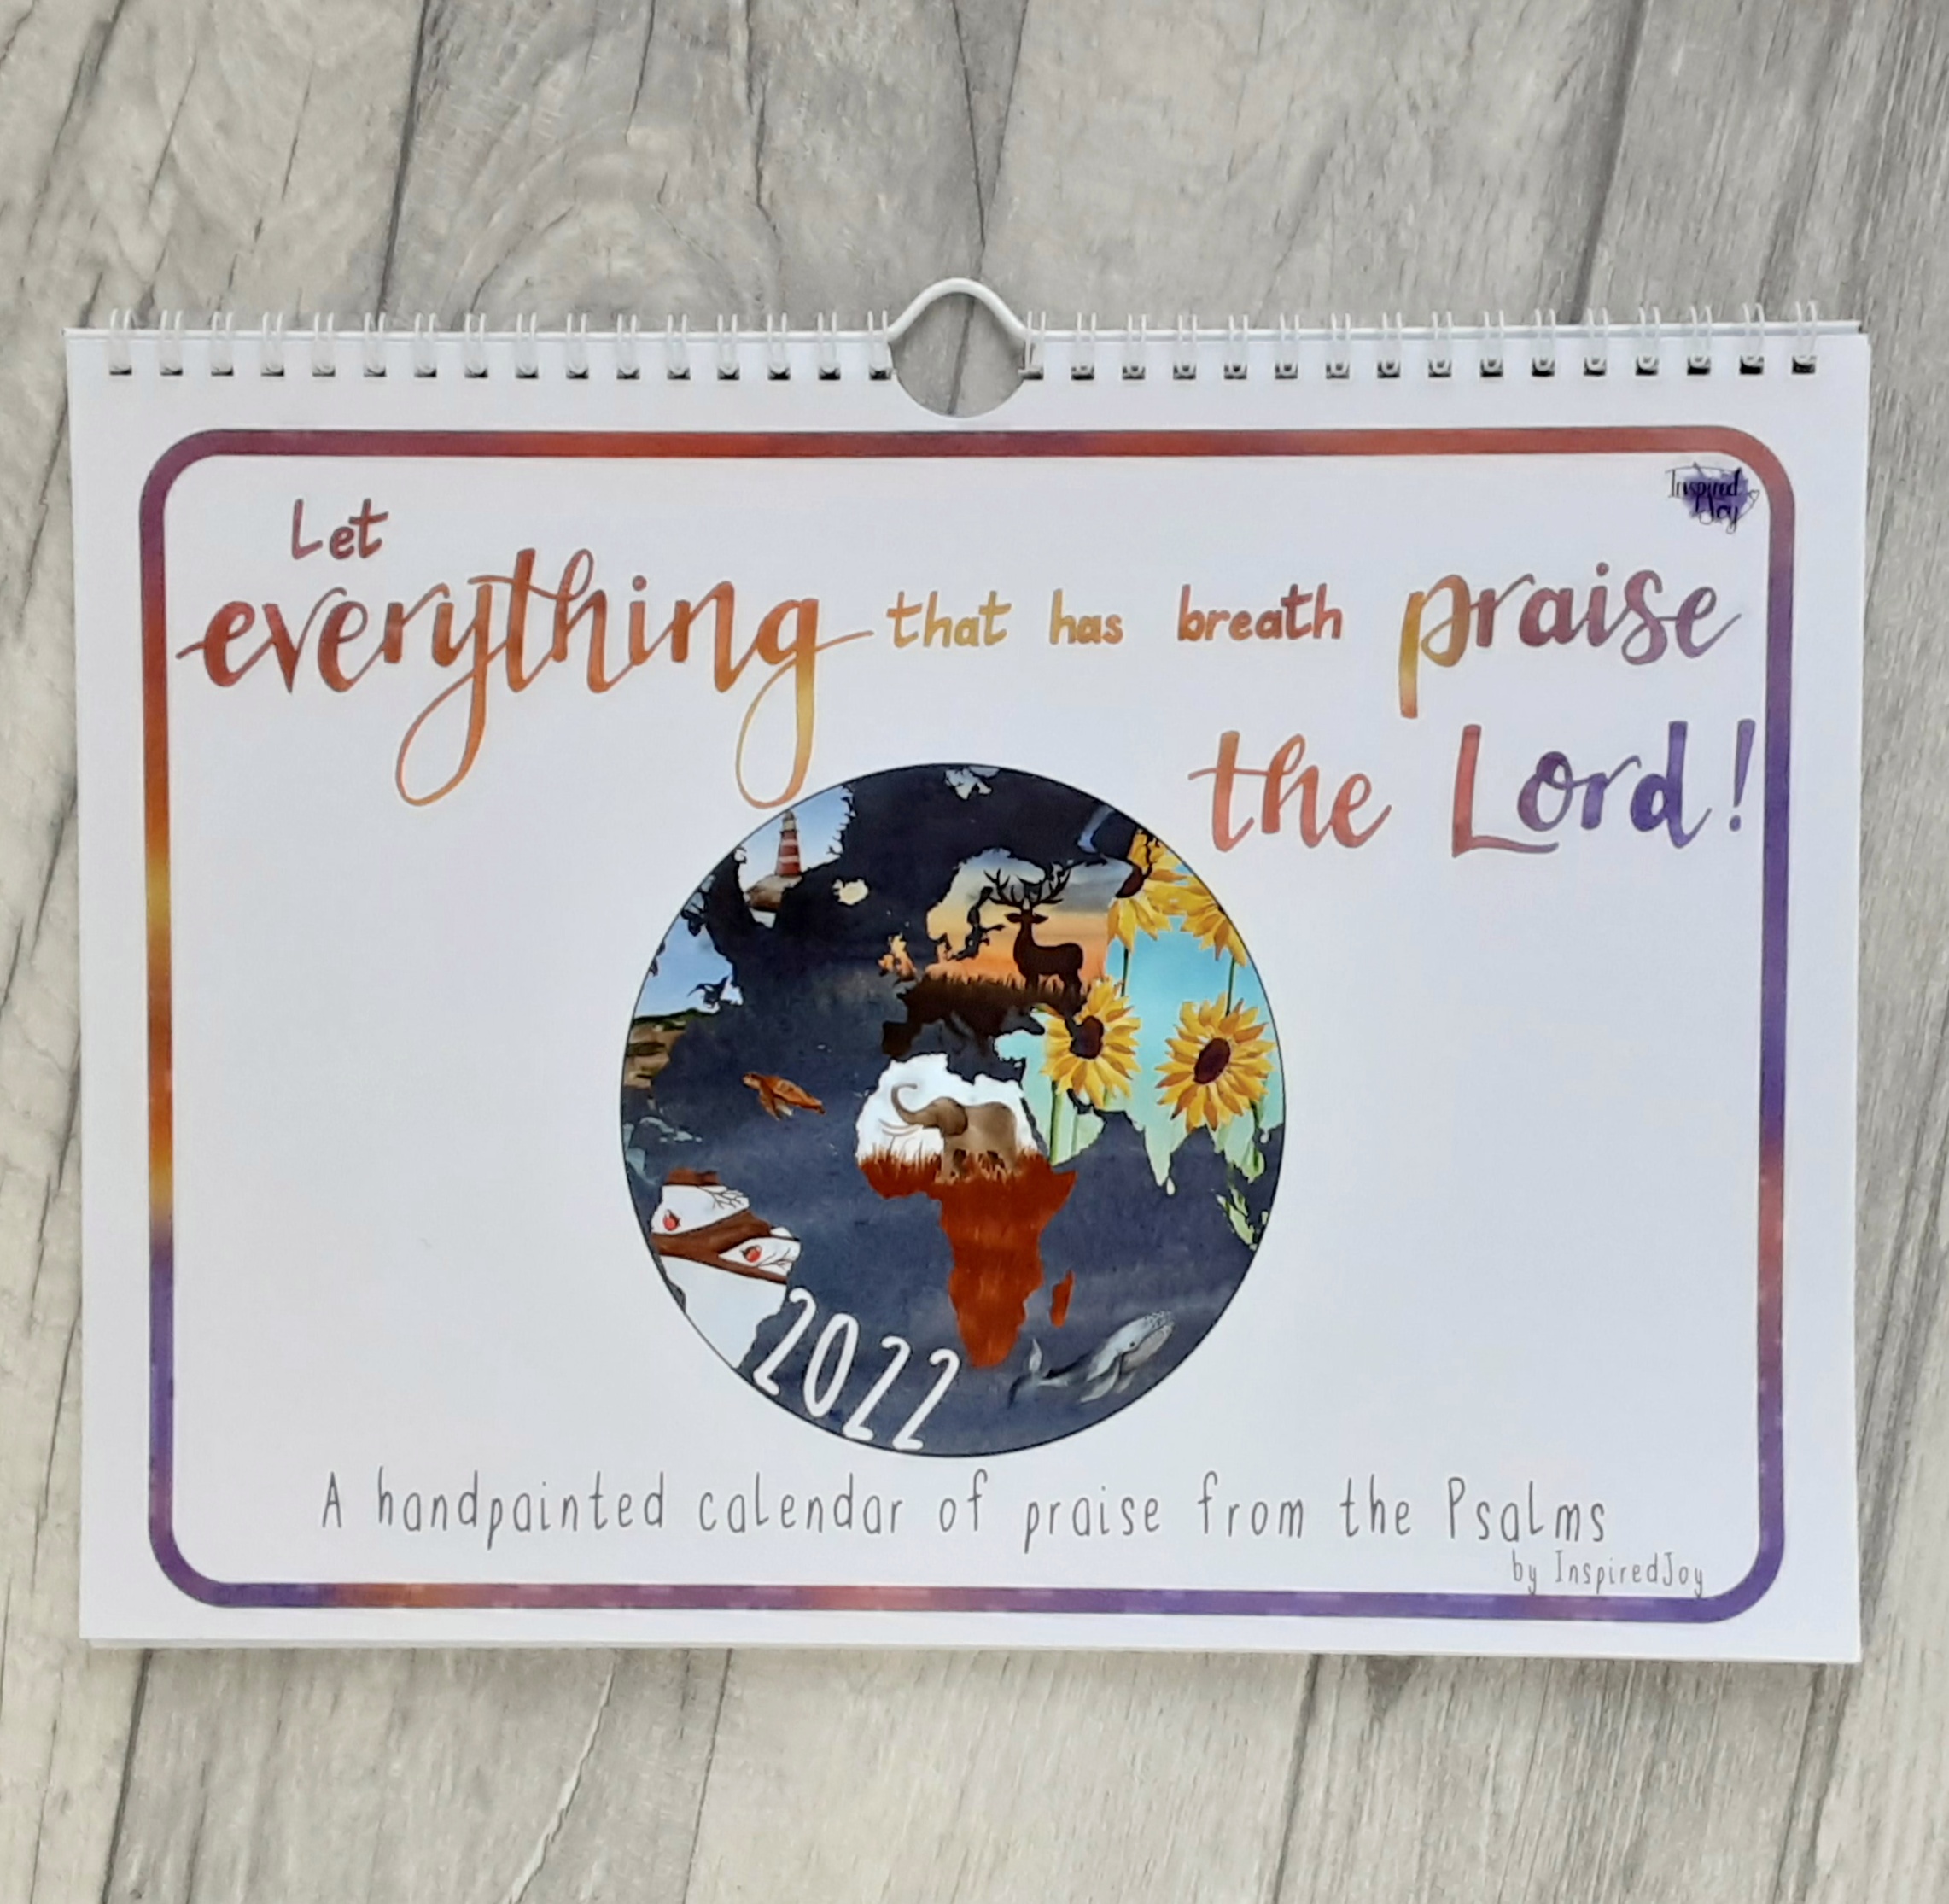
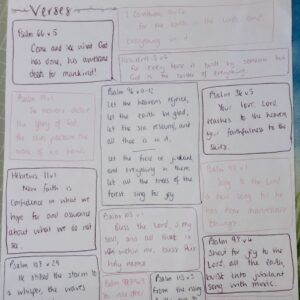
One day, not even thinking about the calendar, I decided to collate all the random verses that I'd been scribbling down or highlighting over the last few months.  I often make a note of verses that might be used for artwork one day.  Suddenly I was looking at a page of verses, most of which were all about the same thing - Praising God for his wonderful earth!  There it was - my theme and verses!


Once all 12 verses were confirmed, I began to outline the illustrations to go with each one.  I try to seek God on the order for the verses and what the images should be.  Last year a few people got in touch to say how much a particular verse had helped them in the month they needed to see it.  God is the only one who knows our needs and this makes it so important to let Him guide every step.
 

The next thing to do is to produce the illustrations for each page and the front cover.  For me there always seems to be at least one page where I don't know what the image will be till the last minute, which is a bit scary sometimes but is a good test for me to trust God and not go off ahead with my own ideas.


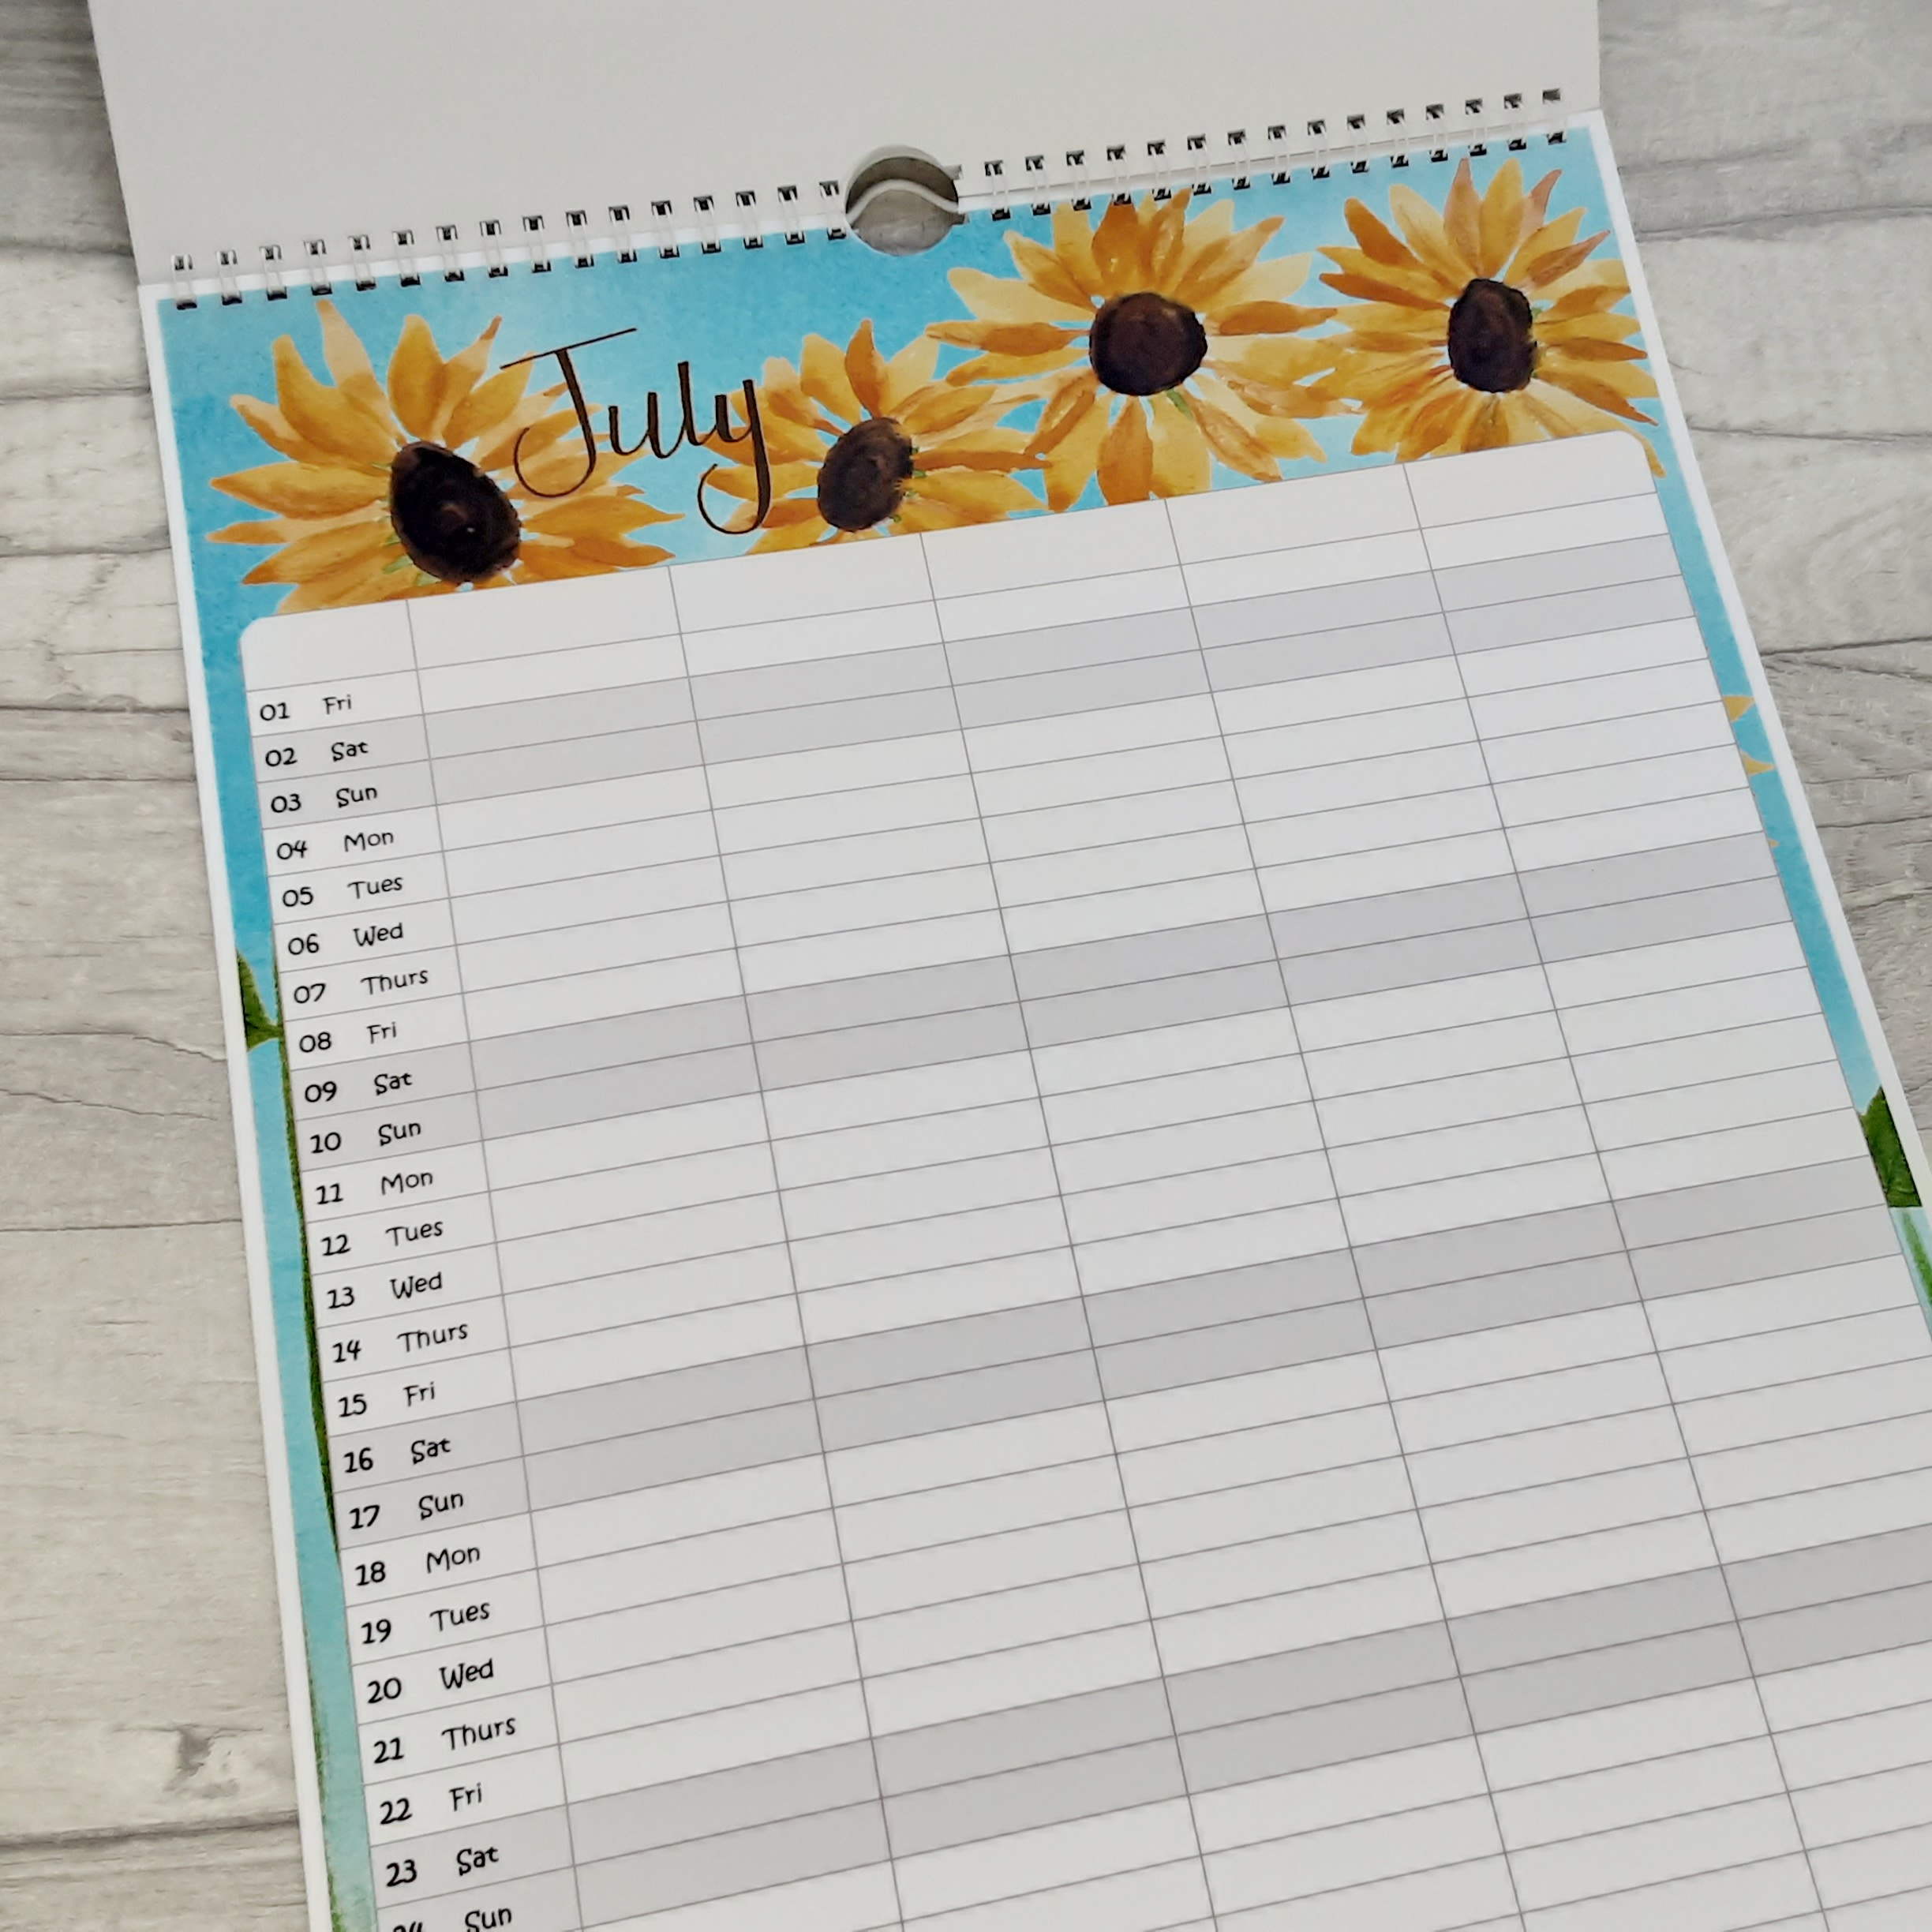
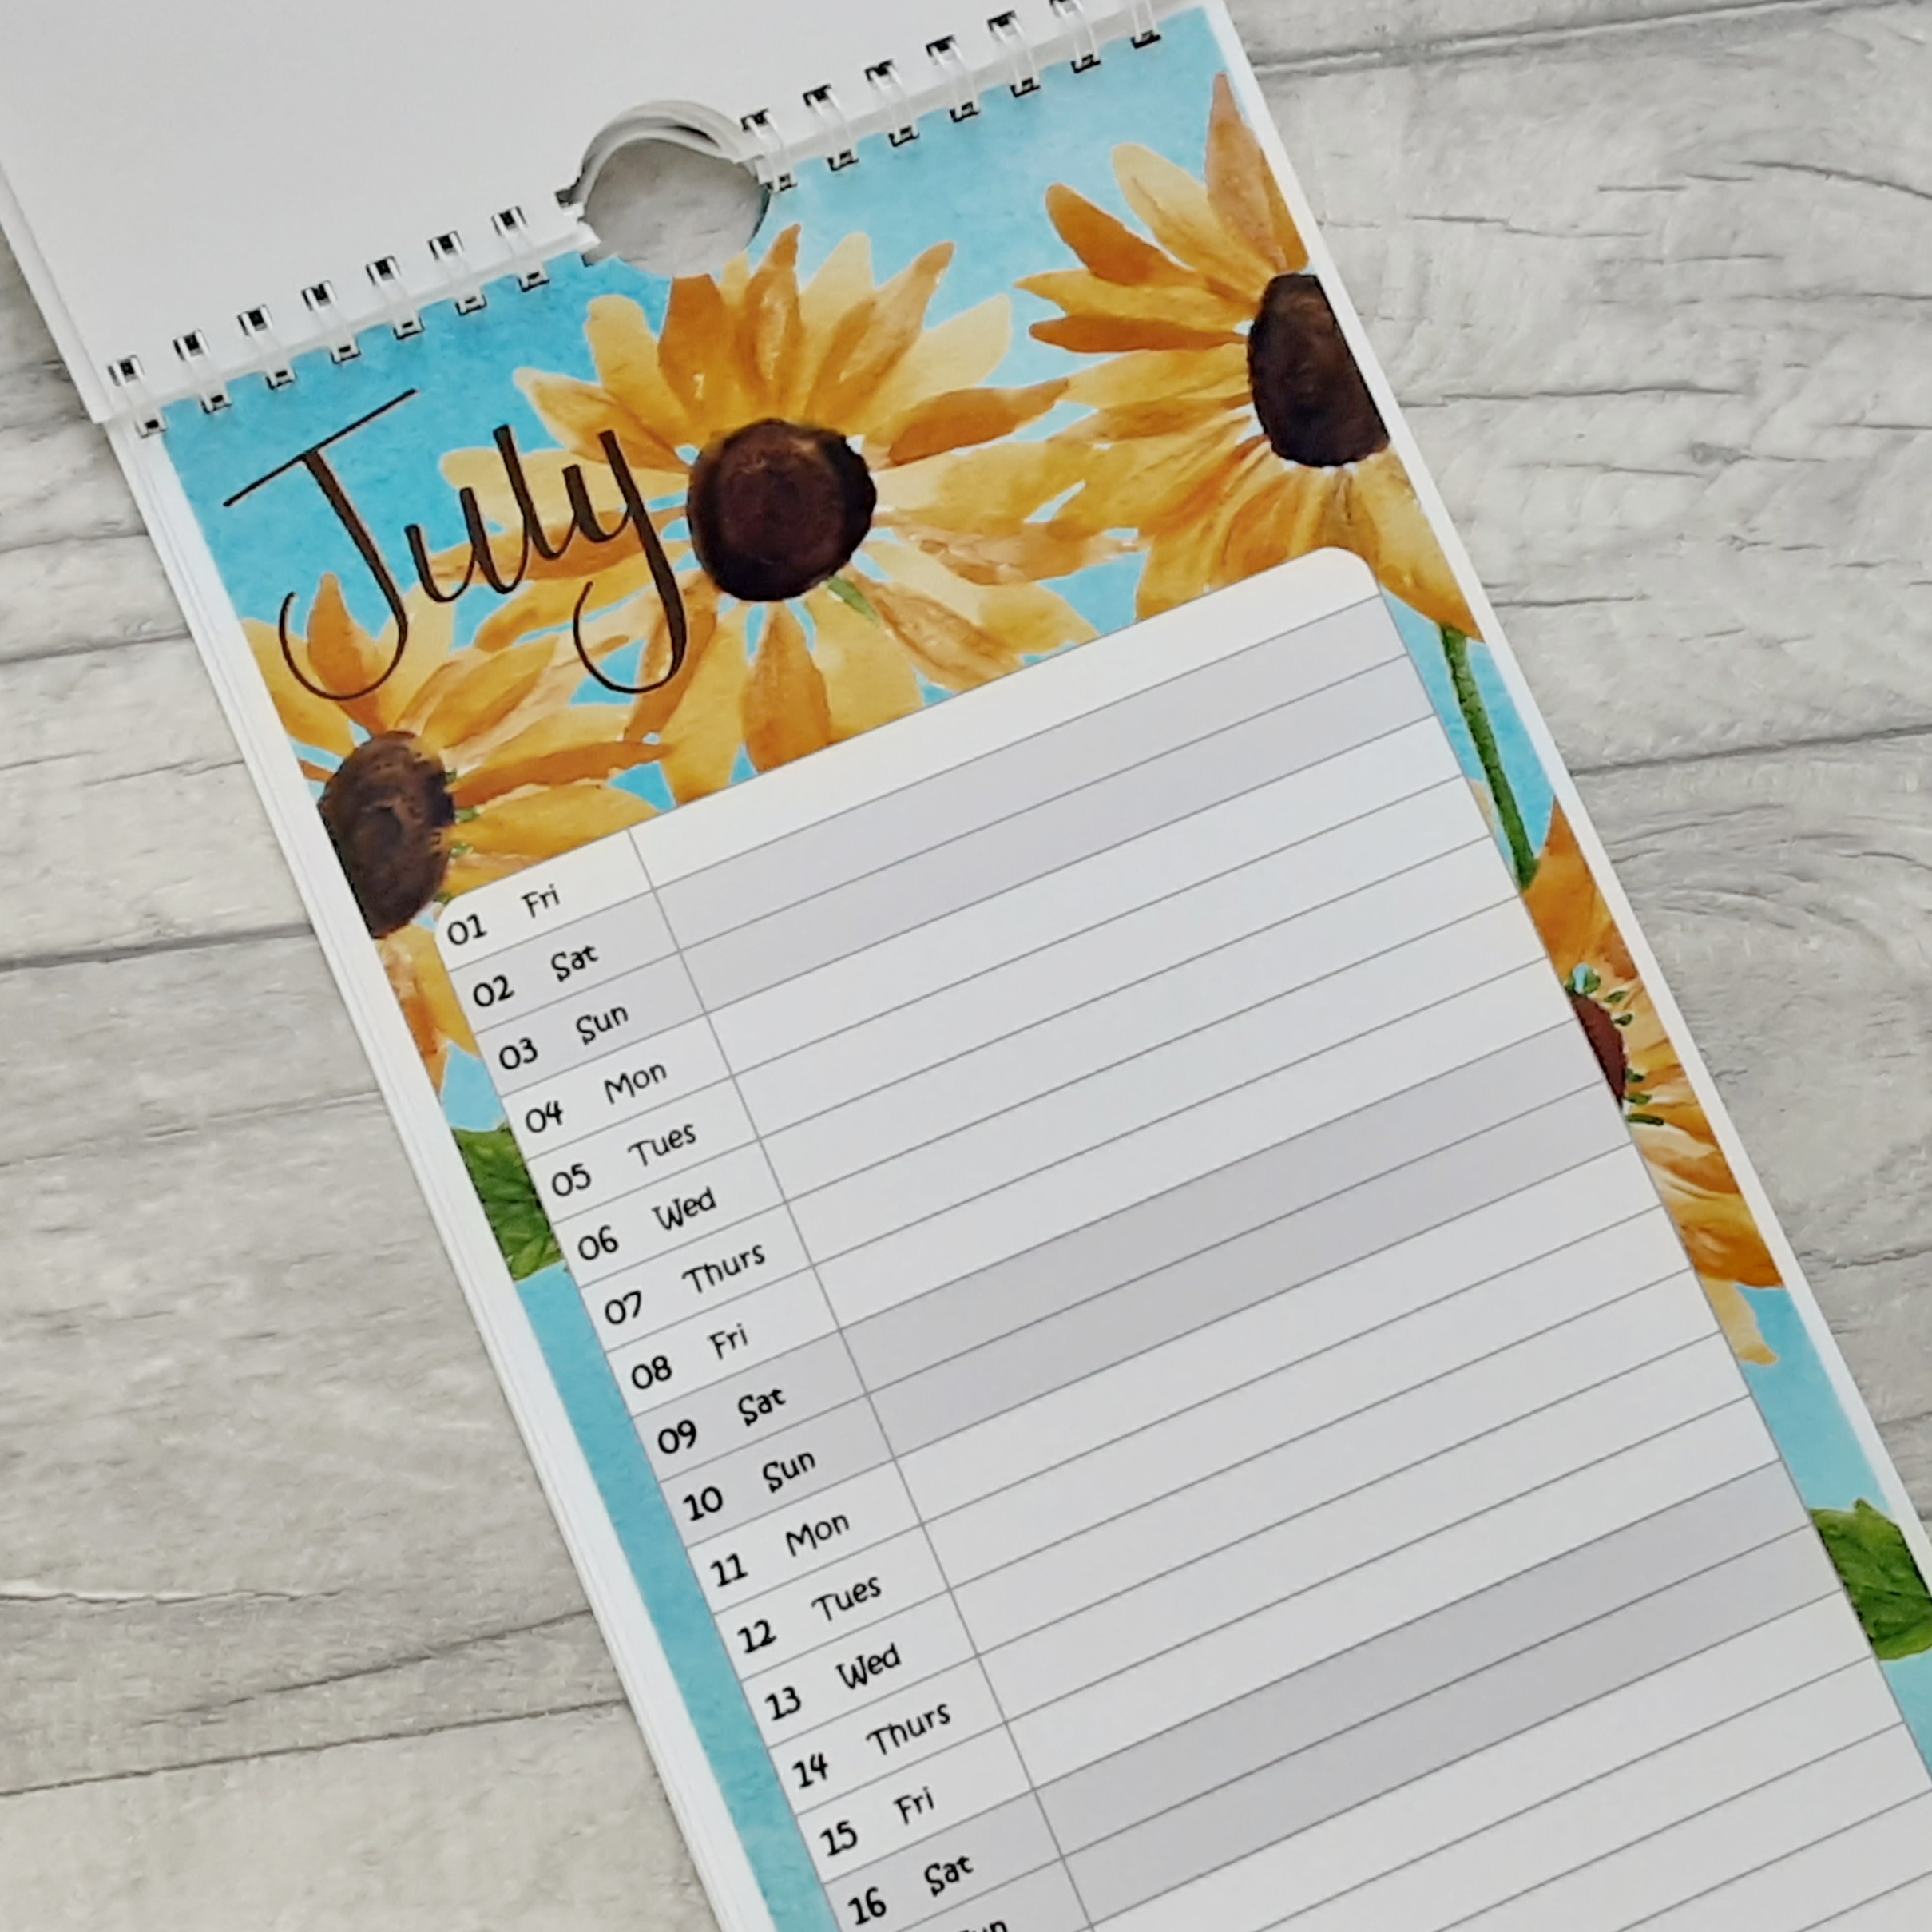
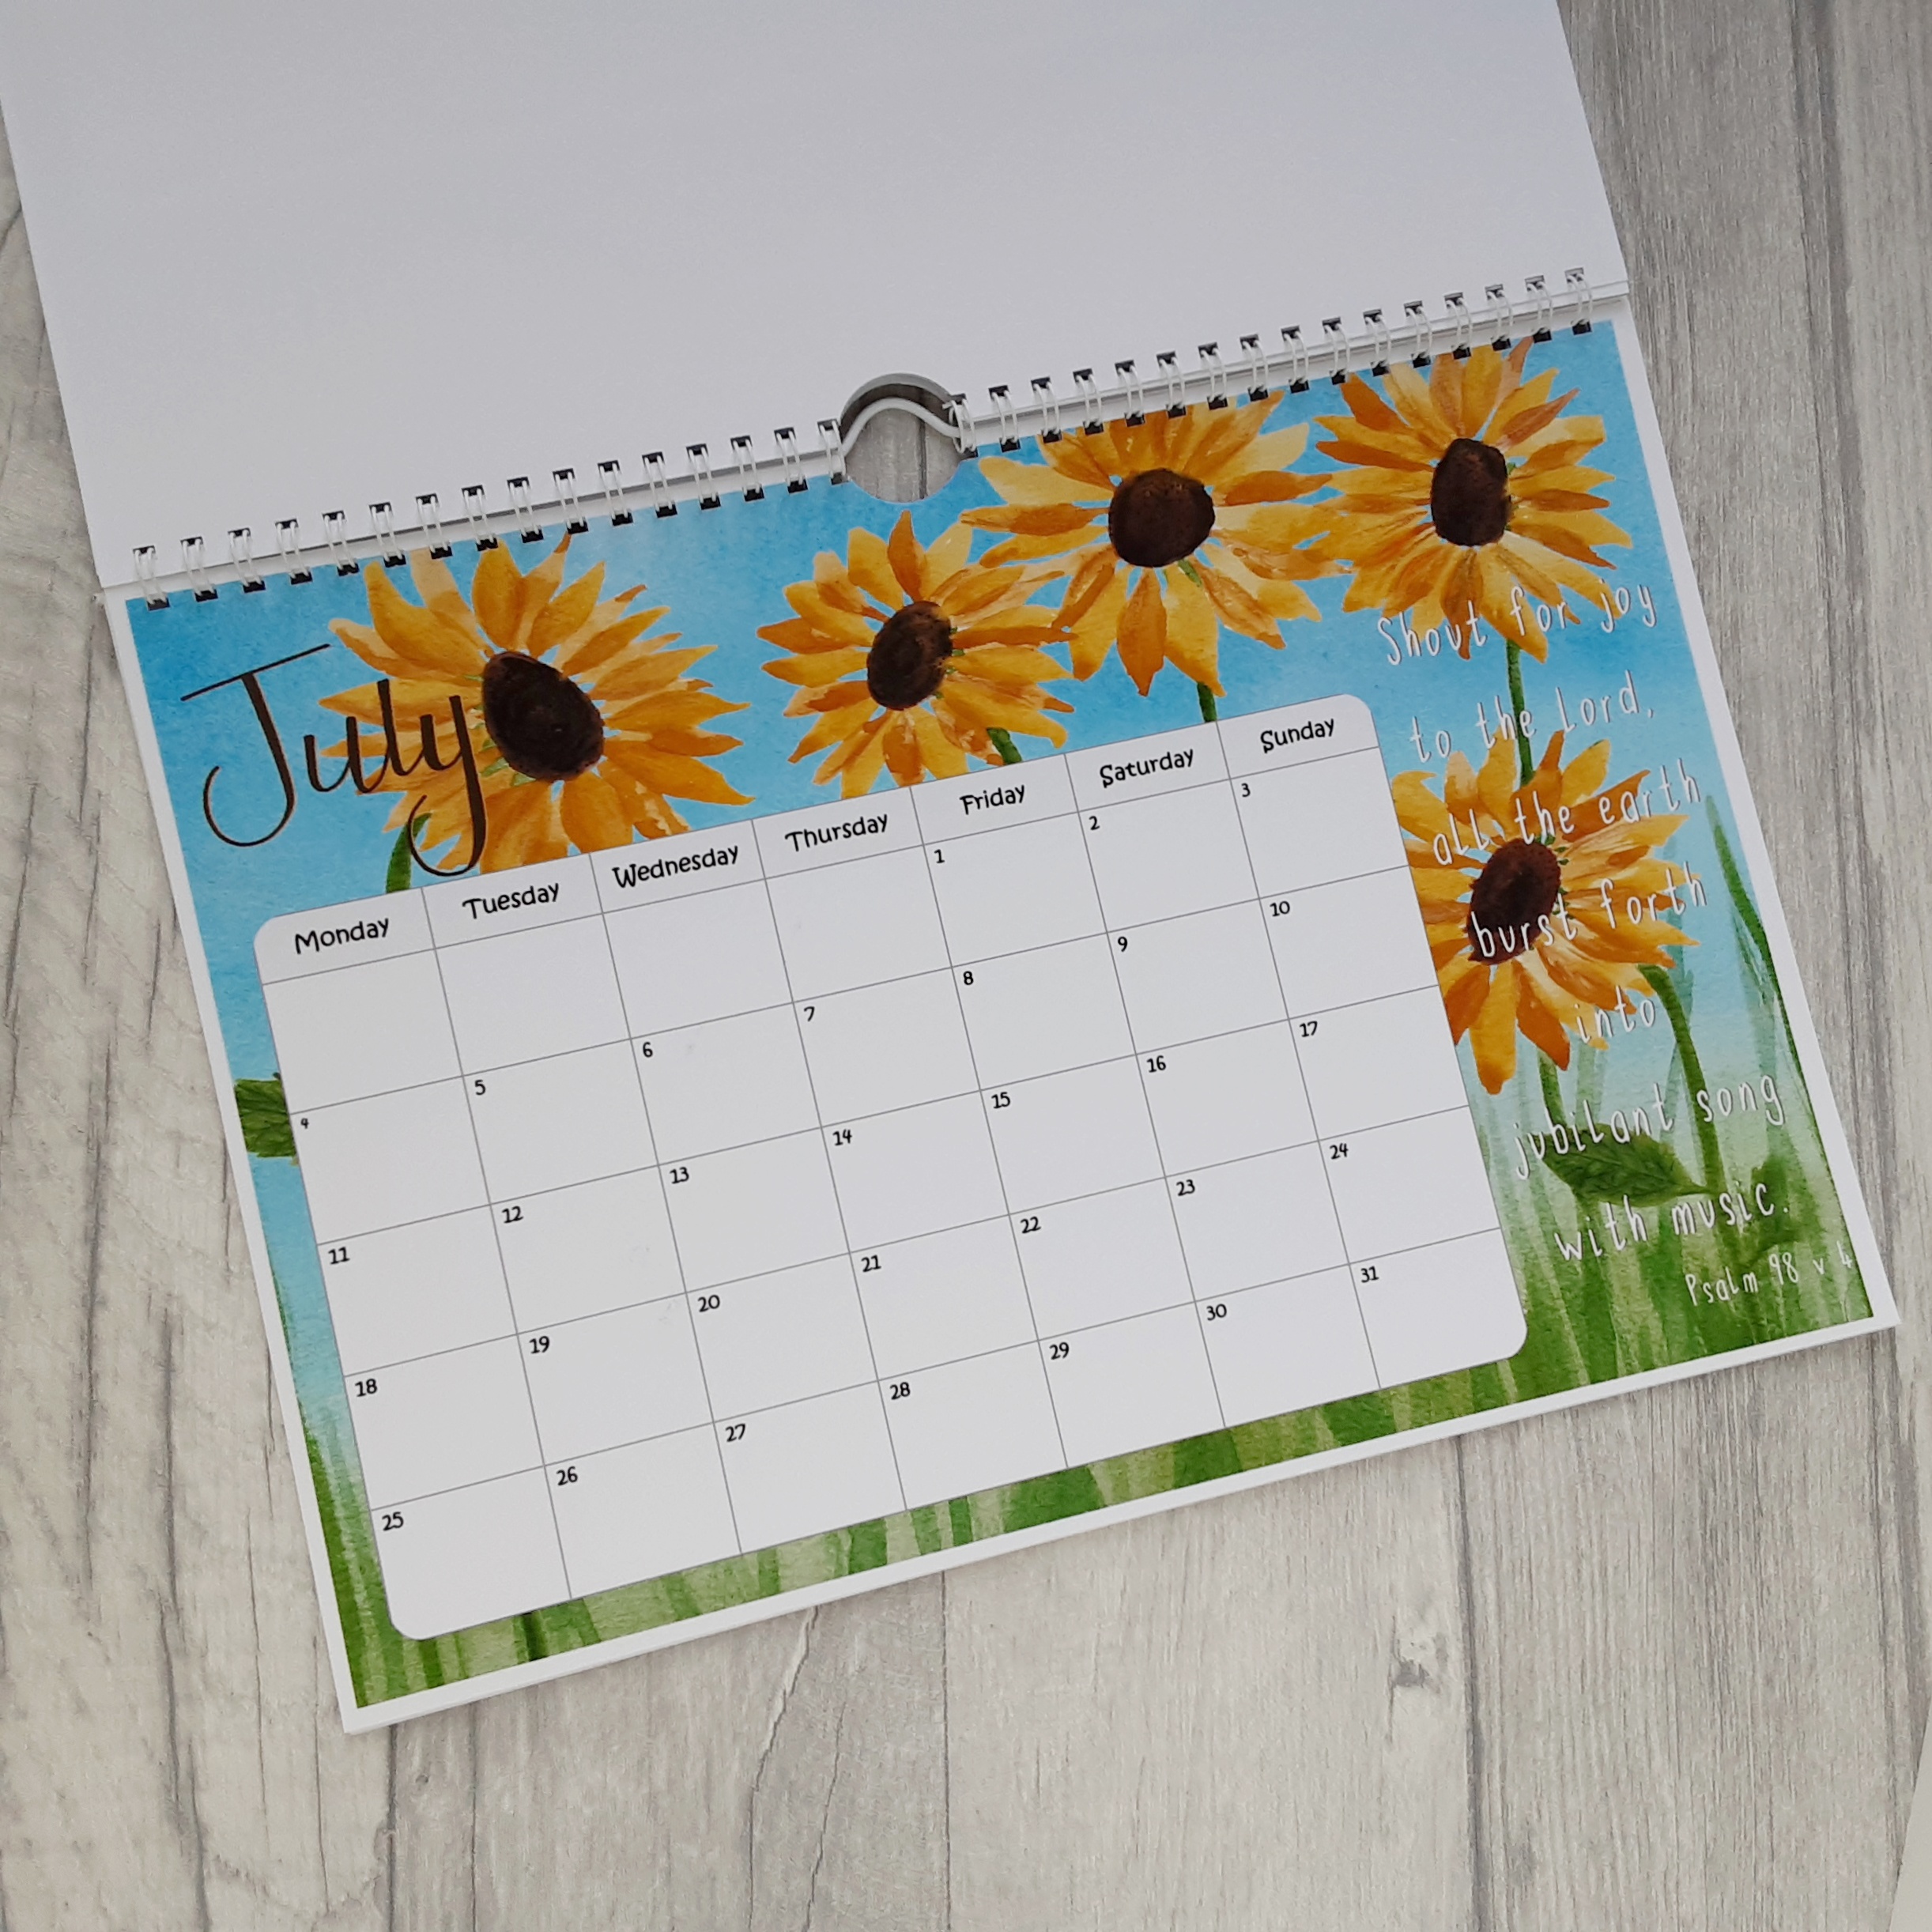
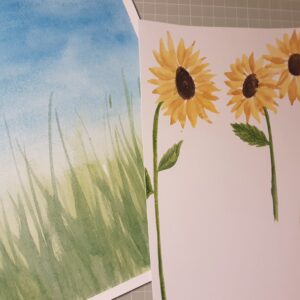
Sometimes I create each page in sections as I am able to use Photoshop to put them together.  For example, for my sunflower page, I painted the sky and grass as one piece, and the sunflowers were on a separate sheet.  This helps if I make a mistake, but mainly enables me to alter the layout for each calendar size.  Once all images are painted, they get scanned in and assembled together on each page.  This year I have an A3 family planner, an A4 calendar and a slimline version.  All the grids are created and added in to each page too.  I usually prepare the grids very early on in the year, so they're ready for when I need them.

This time, rather than handwriting each verse, I created a font which was able to install on the computer.  This was a huge time saver this year so something I'll be exploring more next year.  The font is of my hand writing, which I prefer to a standard typed font.  I quite like it being a little bit quirky and not too perfect!


So that's the process I go through to create the design.  It's quite a big project to take on each year, but I love the process.  I enjoy the journey of finding out the verses and seeing it all come together.  I also enjoy seeing the development in my art work compared to the previous calendar.  For me there is more to it than simply creating a product to sell.  It's the journey and learning that is just as important to me too.

Posted on

Making a Calendar

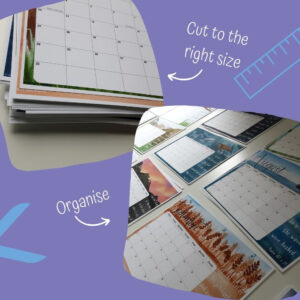
The first step is printing the calendar.  Well, actually, I guess the first step is choosing some paper!  I always go for a thick paper that has a matte finish so that it can be written on with various types of pen/pencil.  This year I'm printing my calendar in 3 different size, but keep paper supplies simple, I've arranged the digital files so that they all fit on the same size piece of paper.  It does mean I have some cutting to do, but I find that easier than predicting how much paper in each size that I will need!

Once printed the next step is to cut them to the correct size.  I print on A3 paper, so my family planner style calendars can skip this step.  My A4 and slimline ones need cutting in half.  After this they need putting into order.  Mine usually end up being in a bit of a muddle after being printed and cut!  I do this in two steps:  1) lay out creating a pile for each month - which also makes me tidy my desk up first! and 2) gather up 1 of each to make the full calendar in order.  Now they are ready for assembling.

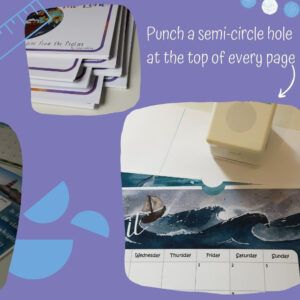
The first stage of assembling the calendars is to punch a semi circle at the top in the centre.  This enables the pages to be turned over the hanging hook.  I couldn't find a semi circle punch so I've been a little inventive with a circle one and some tape!  I also have it attached to an oh-so-technical piece of paper with a few guidelines drawn on to help me line up the calendar pages.

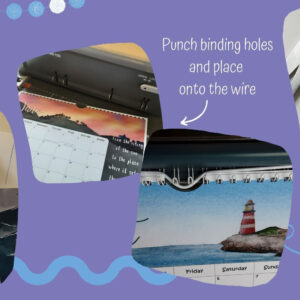
Next they need putting into the binding stage.  I prepare the binding machine by adding a binding wire and a calendar hook into the slot that I have along the back of my machine.  First they need the holes punching in along the top.  This is the bit I find the hardest because I like the semi circle punch to look central and my oh-so-technical piece of paper doesn't always seem to be so exact when I line the paper up!  Once the holes are punched in, the pages go onto the wire.


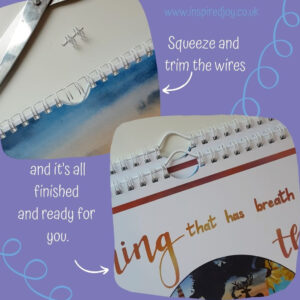
When the whole calendar is ready, the machine squeezes the wire together to stop the pages falling out.  One extra little tip that I picked up early on was to flip the back page over to the front before binding.  This enables the binding 'seam' to be inside the calendar, so it's hidden until the end of the year, rather than when you initially receive the calendar.

The final stage is to trim the wire over the semi-circle.  This is a bit fiddly, but I find it much easier than trying to bind using two separate wires.  And then they're all finished and ready to go off to their new homes.

You can find them in my shop here for most of the year.  
Posted on

Colouring Sheets

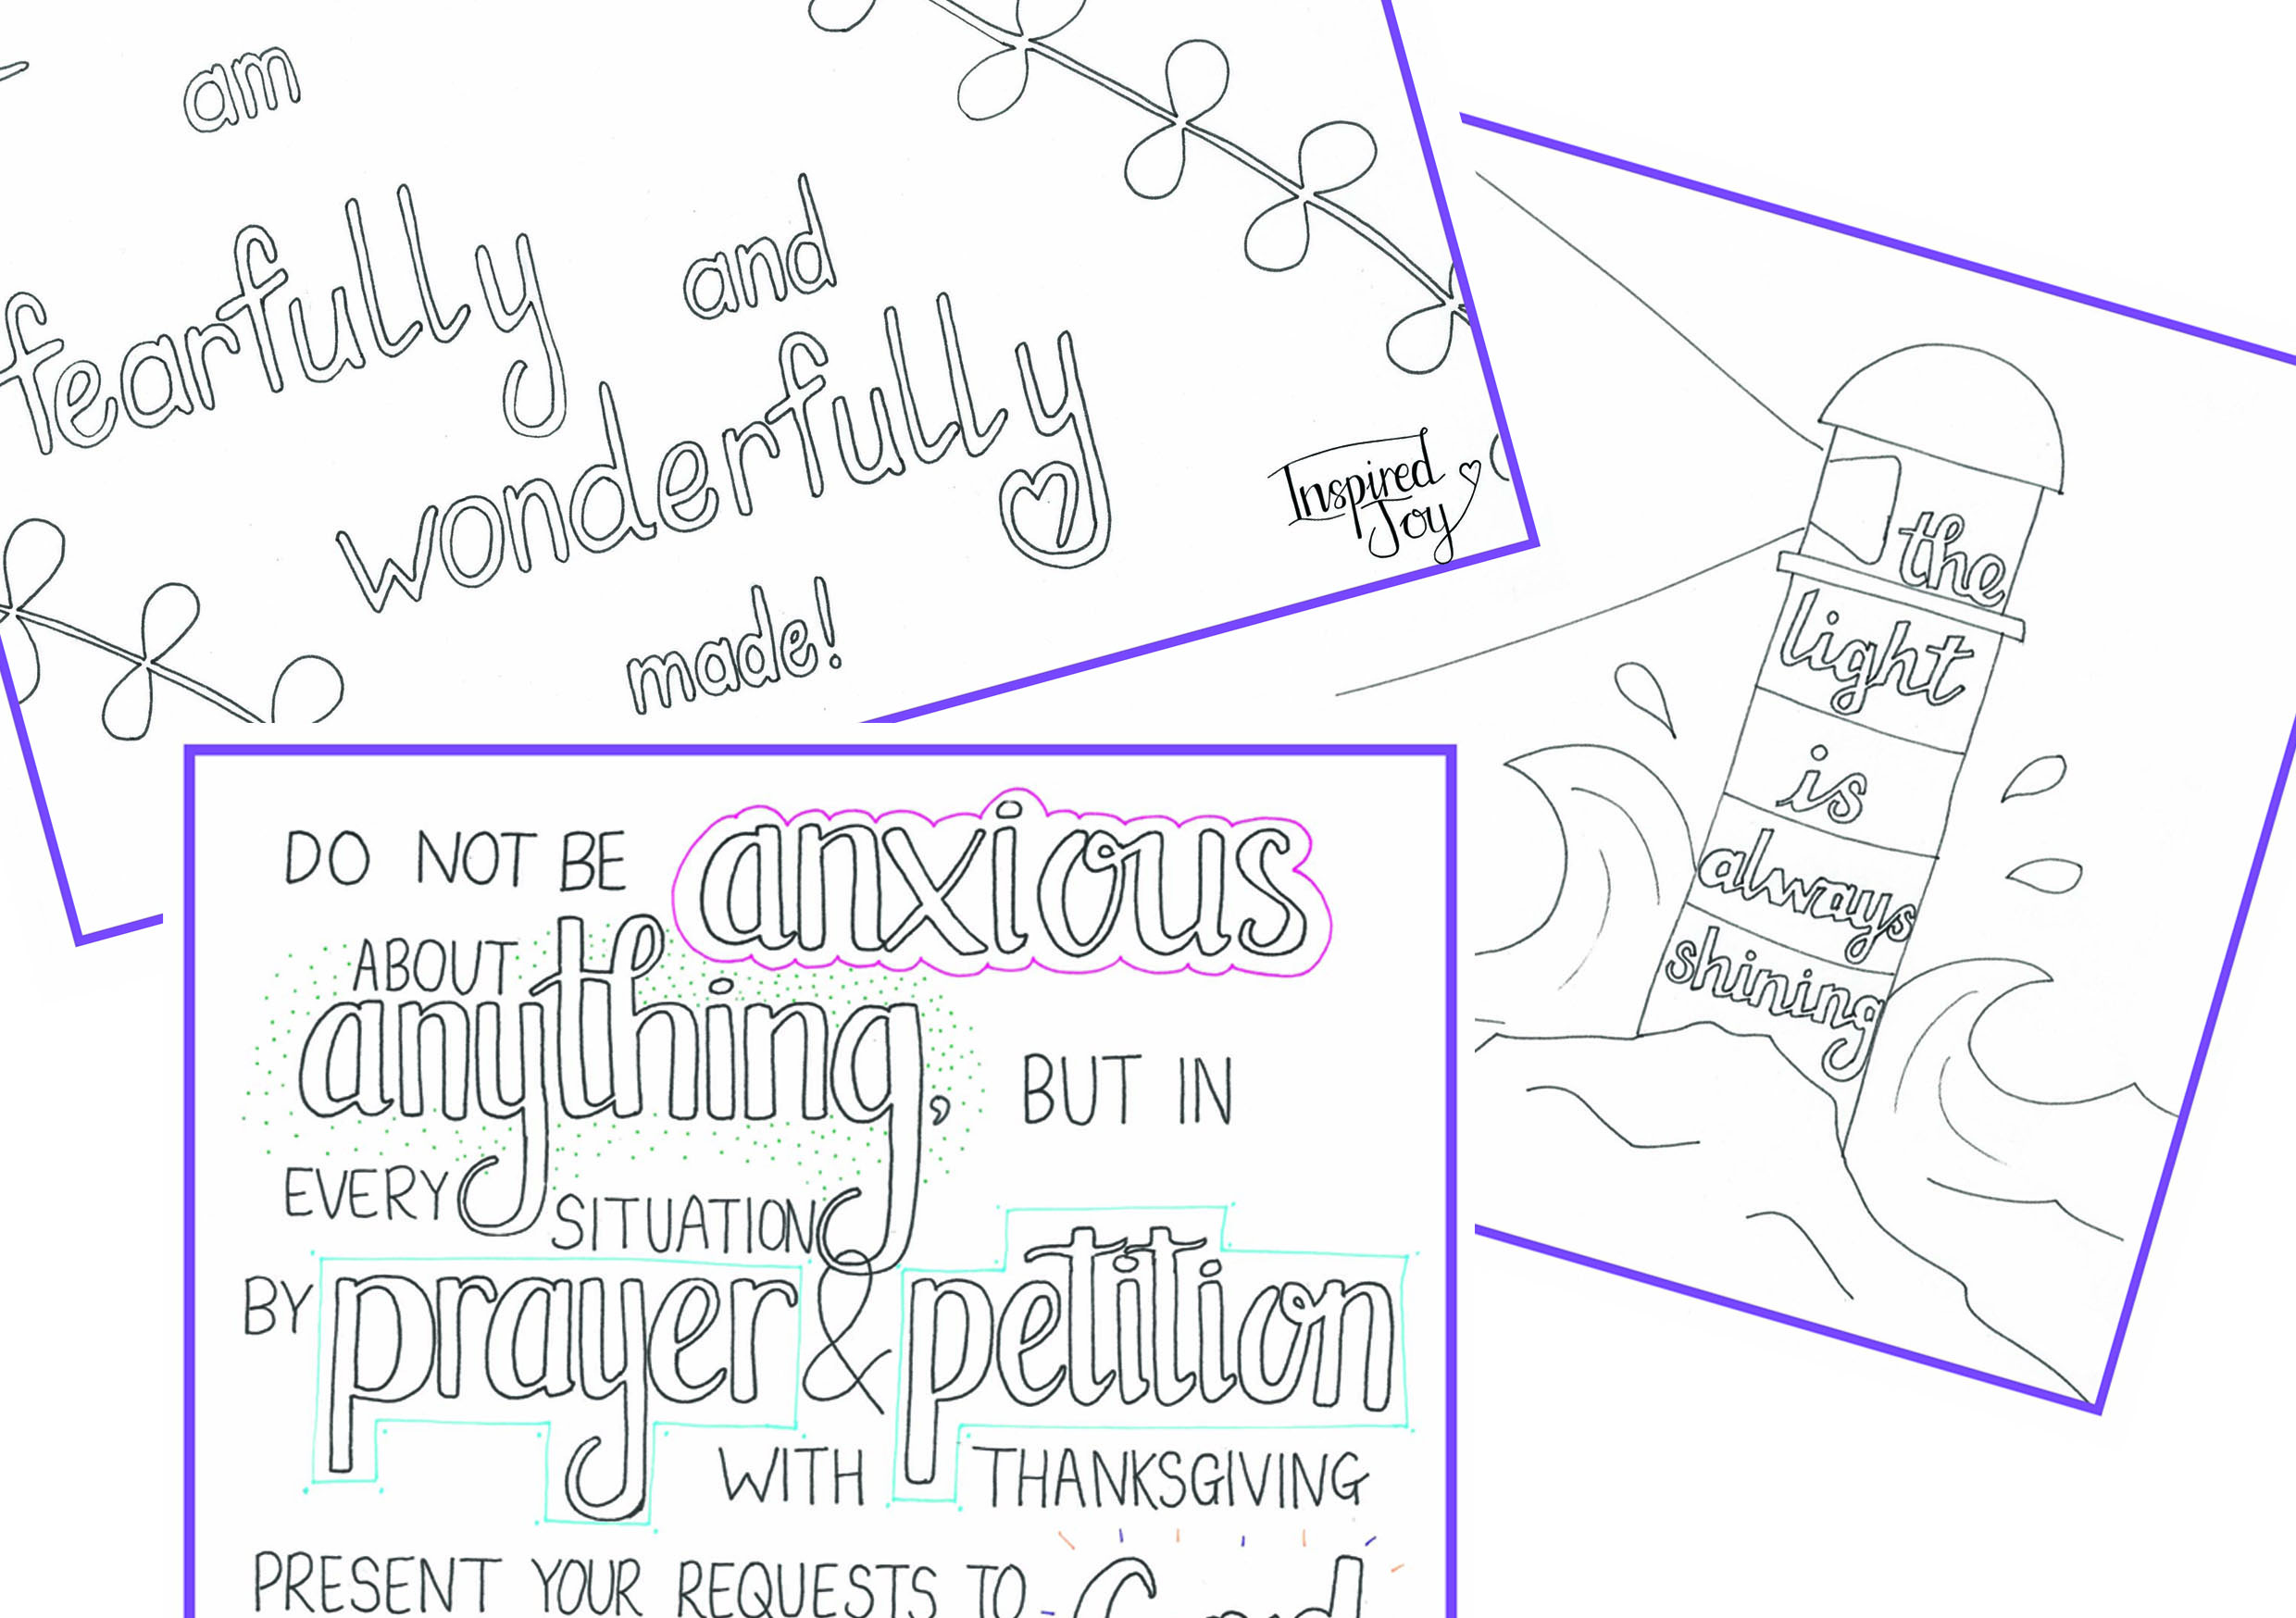
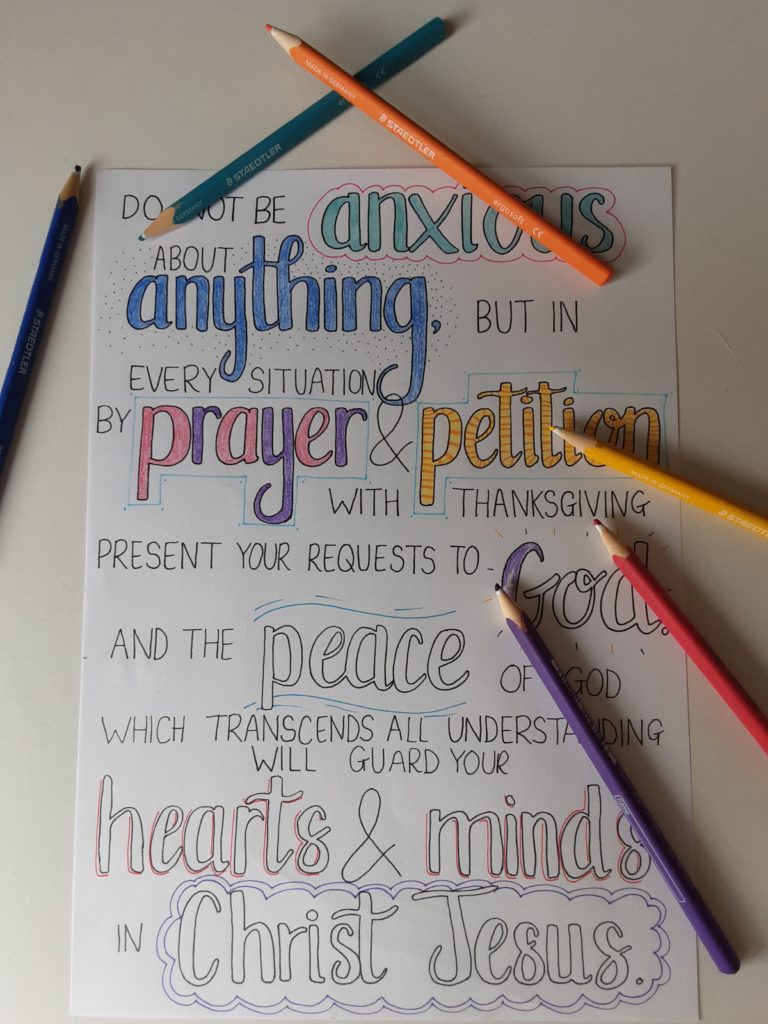
Here's something new for Inspired Joy - colouring sheets! I had the idea of colouring sheets squirreled away for another time, but maybe this is a better time! Maybe one day they'll make it into an actually colouring book, but for now they are available to download completely free whilst we're unable to get out. Feel free to send some photos of your completed sheets. I've made a start one one!

Posted on

Occasionally Asked Questions

Here are some questions that I sometimes get asked about Inspired Joy, so I thought I'd answer them here!  You can also read more on my 'About Me' page.  Do get in touch if you have another question and I'll add it on to the end.


What is your favourite media to work with?

I love using watercolours, they’re probably my favourite media to use, but I am rapidly developing a love of pencil crayons.  I particularly love using them to add details over the top of the watercolours.  I enjoy using my graded pencils for little pencil drawings too.


Where do you get your ideas from?

My ideas come from various places:  reading the bible, spending time listening to God, listening to sermons, worship songs… the list goes on!


What is your vision?

My aim is not to become the next multi-millionaire, but simply to share my artwork of God’s messages.


What are your hobbies?

Drawing!  I do love to spend lots of time doodling, drawing and playing about with pens and paint.  However, I also have other interests!  I enjoy jigsaws, playing musical instruments and spending time with friends and family.


Do you have a favourite piece of artwork?

Usually whatever I’m busy working on!  My favourite changes constantly!  But if I had to choose, my 'Clothe Yourselves' print is probably on the favourites list and my favourite product are the 'Envelopes of Joy'.


How long does it take to complete each piece?

The time it takes to produce a piece of artwork varies from piece to piece – and how many times I file it away in the bin and start again!  I know when it’s not my best and will often start again until I’m happy!


How does Inspired Joy look after the environment?

Firstly I have a paper recycling box right next to my desk.  Where possible, my prints and postcards are printed onto recycled card.  I specifically chose biodegradable clear bags for my packaging when it is needed.  There are other little things, like using cardboard boxes that my orders arrive in as storage instead of buying plastic boxes and the rubber stamps that were made with my logo are from eco-friendly companies.


Where do you do your artwork?

I work at home, in a variety of places.  Sometimes I work in the kitchen if I need to make use of all the worktop space.  Sometimes I curl up with my sketchbook in the lounge (occasionally with the log burner going and usually a blanket!)  My favourite place to work though, is our ‘Spudy’ – the spare room / study!  I have all my resources up there, a desk by the window, my drawing board and plenty of space to spread out all my products and designs – also has the bonus of being the warmest room in the house!


Where did the name ‘Inspired Joy’ come from?

I pondered on the name for quite a while, with nothing feeling it the ‘the’ name.  Then one day, I was just scribbling down a to-do list for the day, which included some business planning, the name just came to me.  I instantly knew that this was the name to use.  As soon as I stopped trying, God gave me the answer.  ‘Inspired’ means 'of extraordinary quality, as if arising from some external impulse' which is exactly where the designs come from  - inspired by God.